
Create a Package
Assign items to a box, record what the carrier needs to know, print the slip and put it in.
Anything you do not assign stays available for the next package.
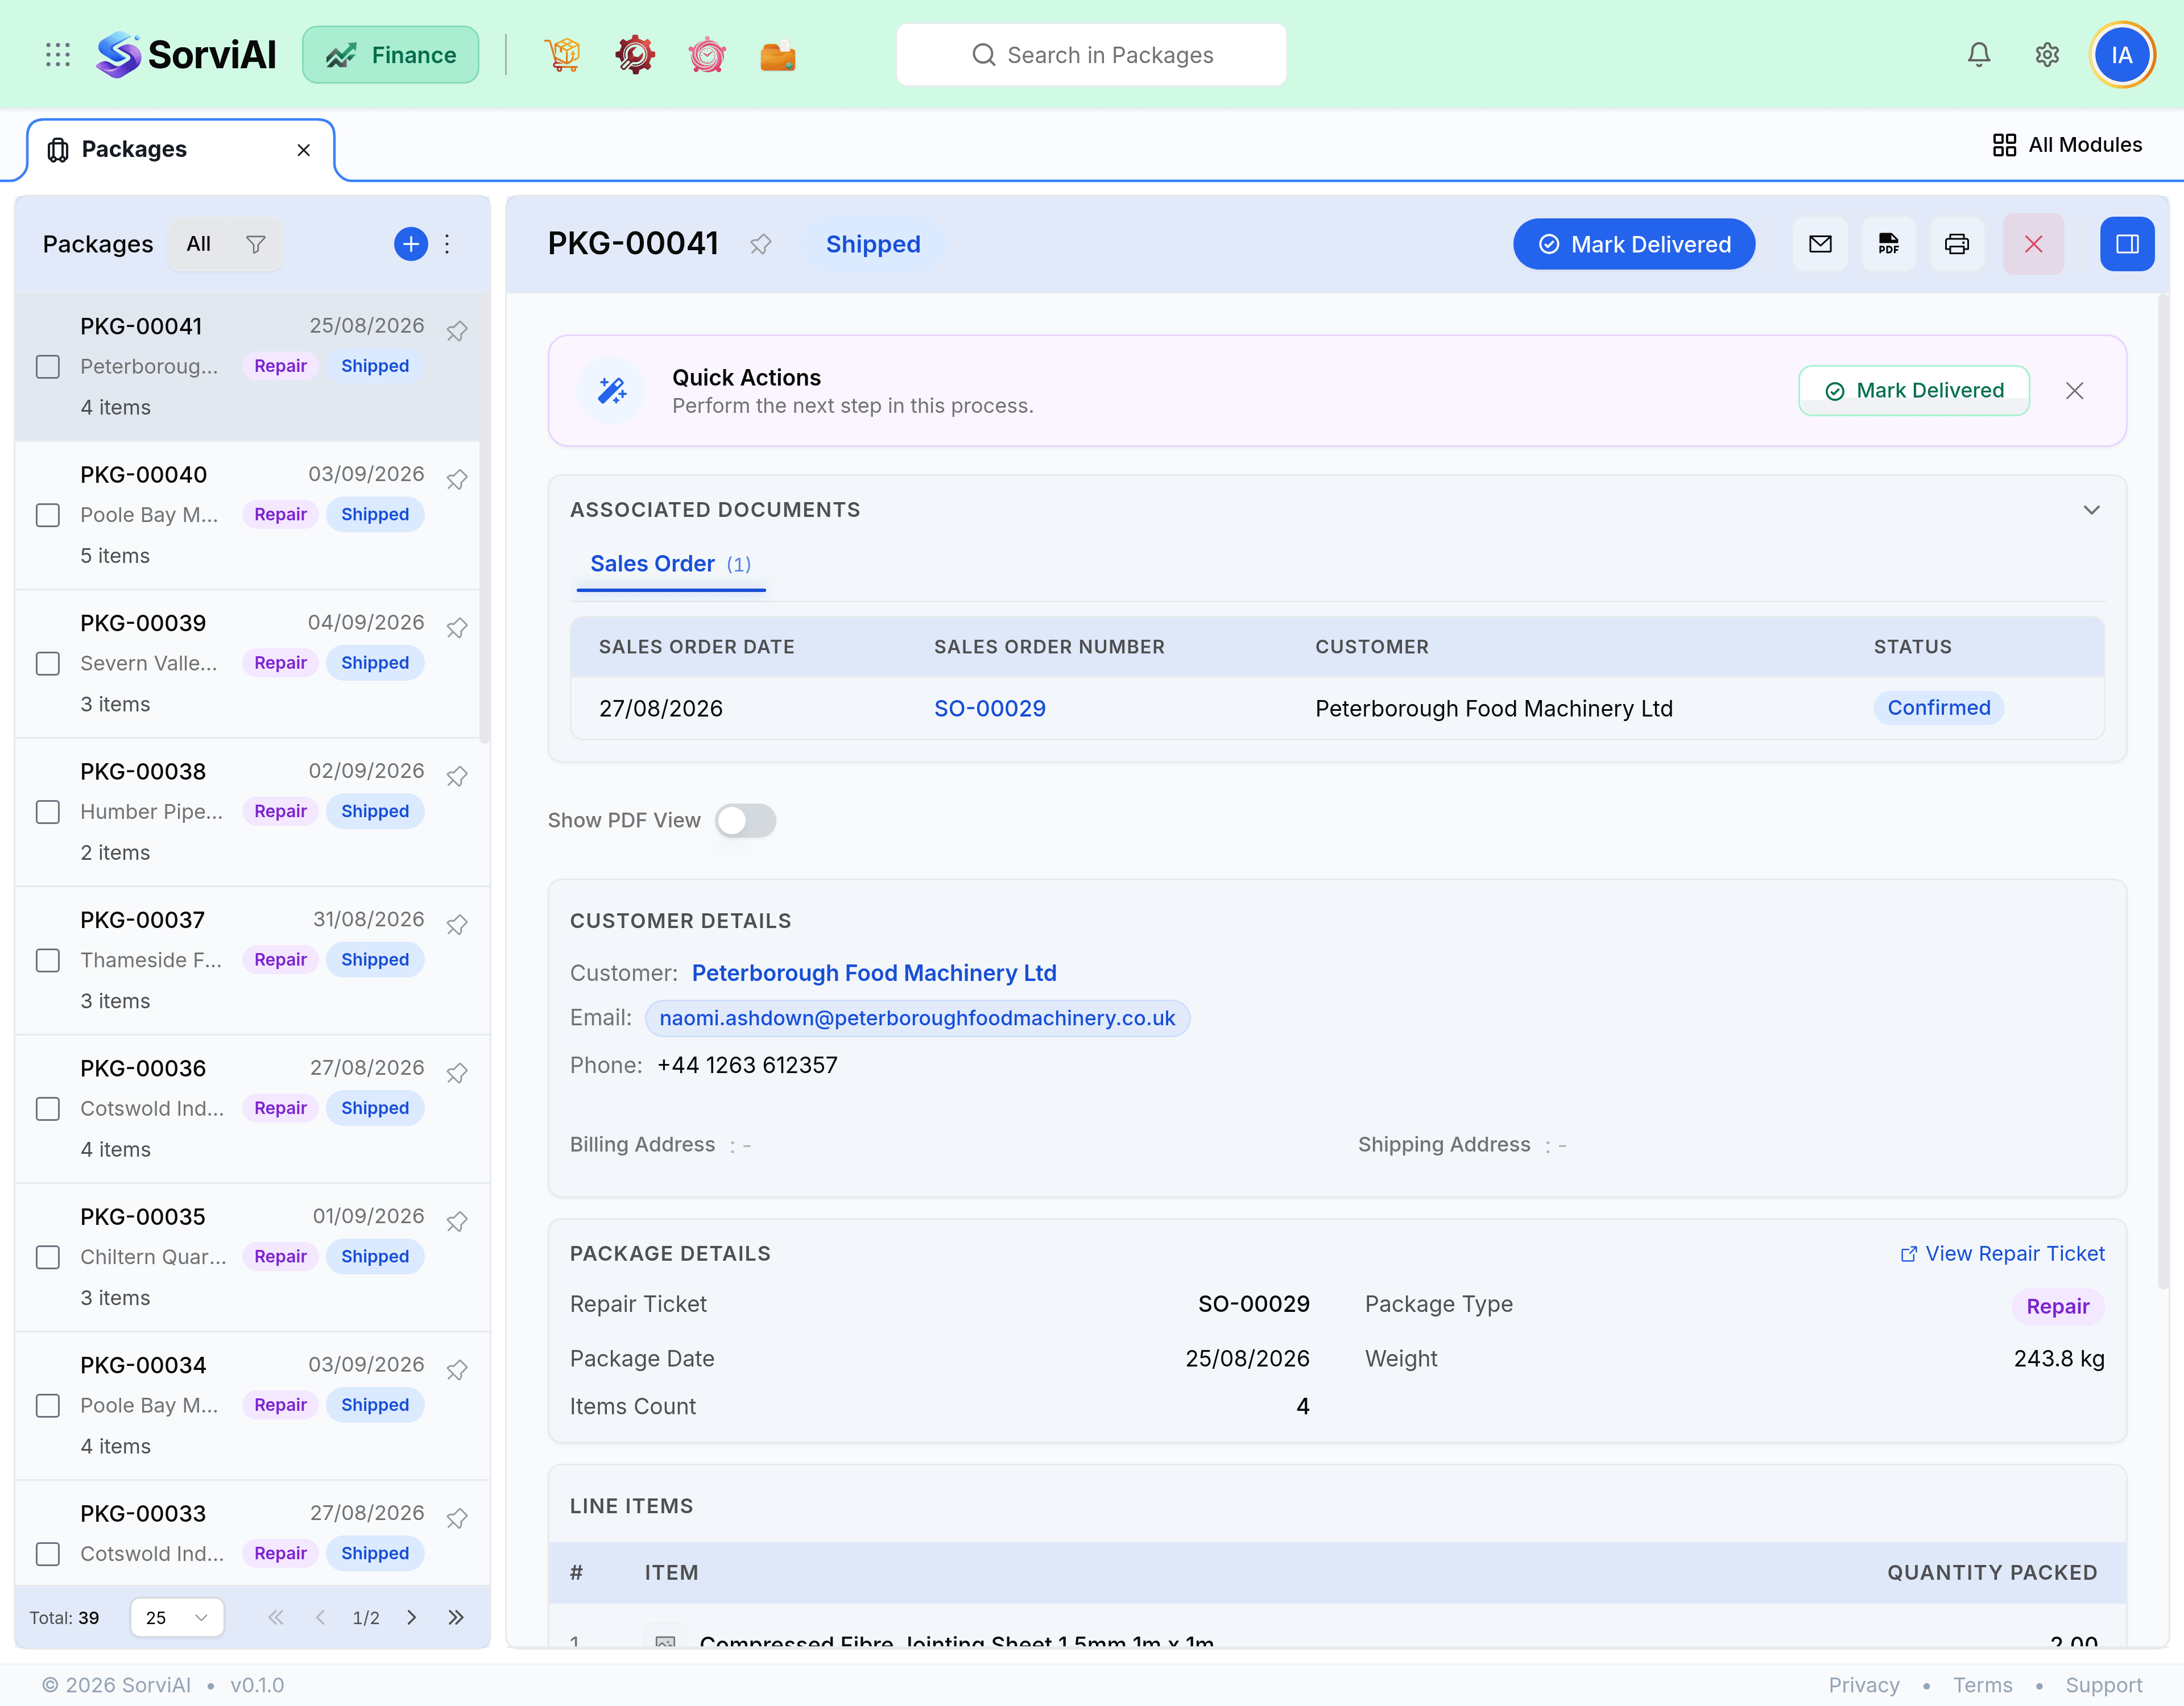
Create a package
Start from a picked picklist or a sales order
Packing against a completed pick is the normal route.
Add items to the box
Assign quantities to this package. Anything left over goes into the next one.
Record dimensions and weight
Used for courier rates and for the shipping label.
Save and print the packing slip
It goes in the box so the customer can check the contents.
Package fields
| Field | Required | Used for |
|---|---|---|
| Package number | Auto | Reference on the slip and the shipment |
| Contents | Yes | Which items and quantities are in this box |
| Weight | No | Courier rating |
| Dimensions | No | Volumetric courier pricing |
| Notes | No | Handling instructions such as fragile |
Splitting an order
Create as many packages as boxes. Each one takes a share of the order and the remainder stays unpacked until you assign it. Print a slip per box, so a customer opening box two of three can see what should be in it without opening the other two.
- A package covers one order. Two customers never share a box.
- Packages from several orders can go on one shipment, which is how a single courier collection works.
- The packing slip hides prices by default, because it is going into the box.