
Portal
The self-service site customers and vendors sign in to, its address, its banner, and the two switches that decide what a customer can see there.
The portal is a site of your own that customers and vendors sign in to, rather than a link inside an email. It is where they read what you have sent them and, for a customer, act on it.
Go to SettingsPortal. Two tabs: Customer Portal and Vendor Portal.
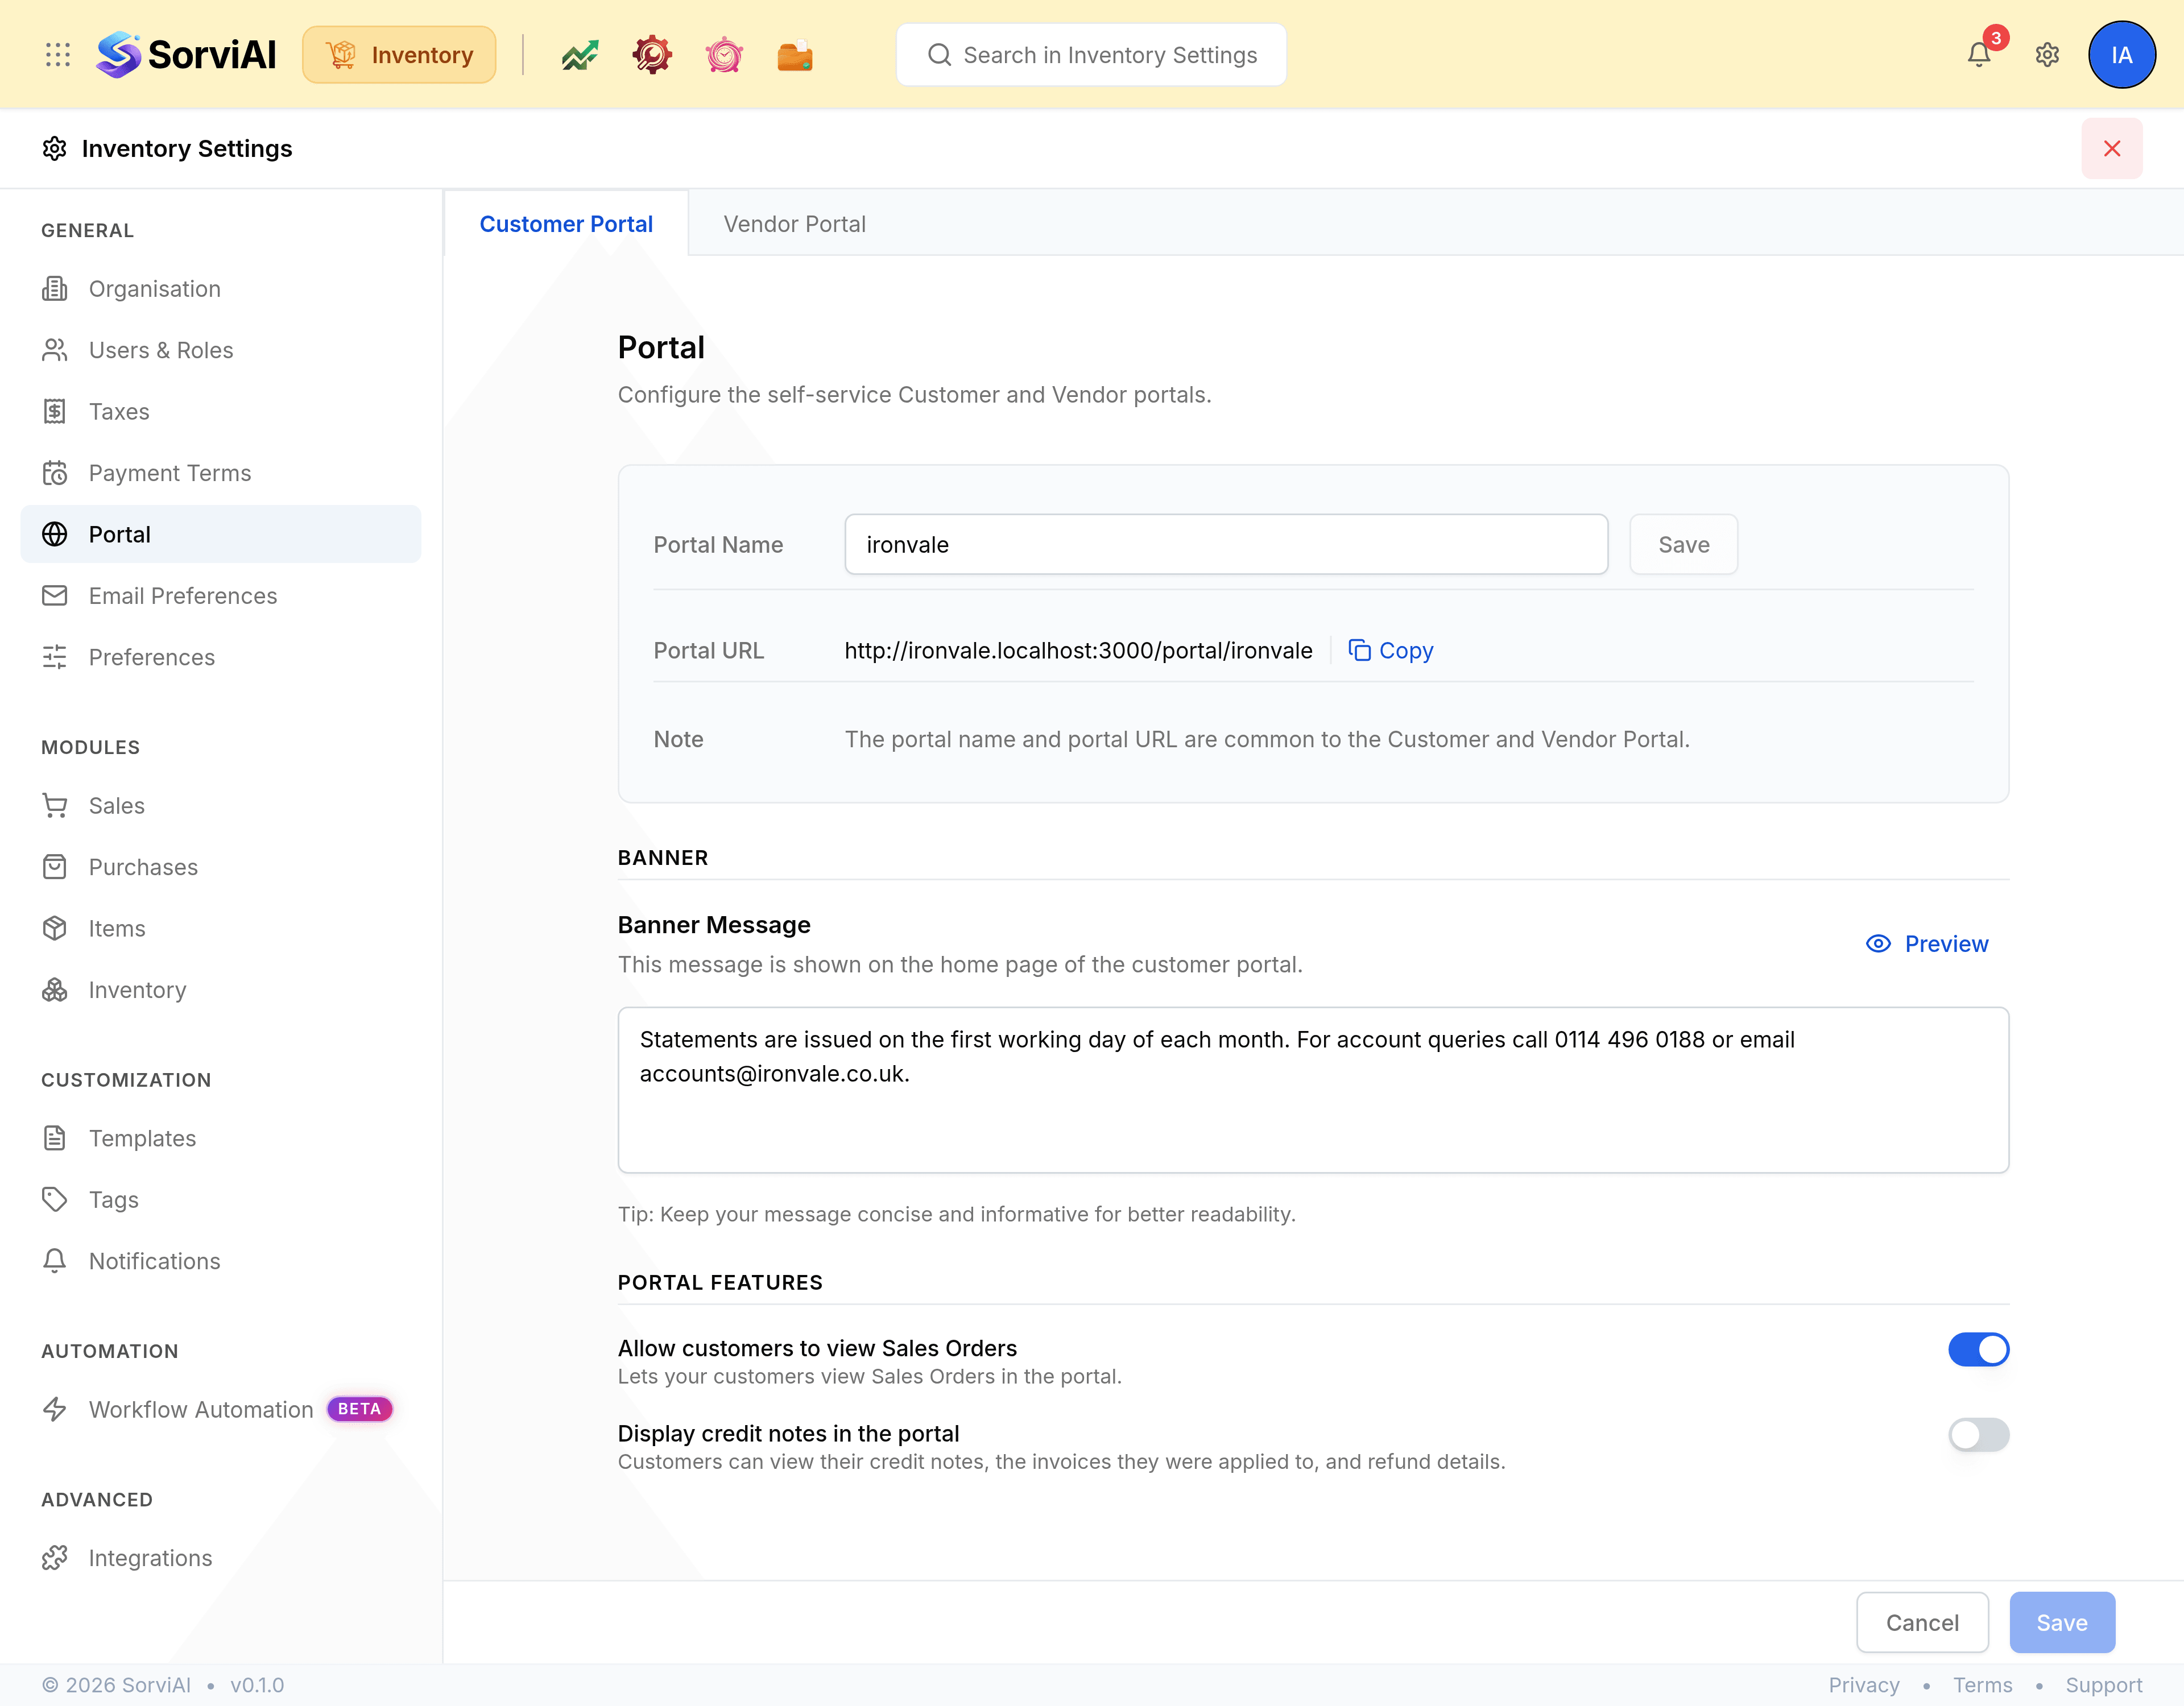
The portal address
Both tabs open on the same configuration card, holding the Portal Name and the Portal URL built from it. Enter a name, select Save beside it, and the address follows. Copy puts the URL on your clipboard.
The banner
Banner Message is shown on the home page of the portal to everyone who signs in. It is the place for a notice that applies to all of them: a change of bank details, a holiday closure, a new statement cycle. Preview shows how it will read, and each tab has its own banner, so a message to customers does not reach vendors.
Portal features
Two switches, on the Customer Portal tab only.
| Field | What it does |
|---|---|
| Allow customers to view Sales Orders | Lets your customers see their sales orders in the portal, as well as the invoices that follow. |
| Display credit notes in the portal | Lets customers view their credit notes, the invoices those were applied to, and refund details. |