
Apply a Rate List
Attach one to a customer or vendor so it fills in by default, or pick one on a single document.
A rate list does nothing until something points at it. There are two ways that happens, and they behave differently when a price is edited afterwards.
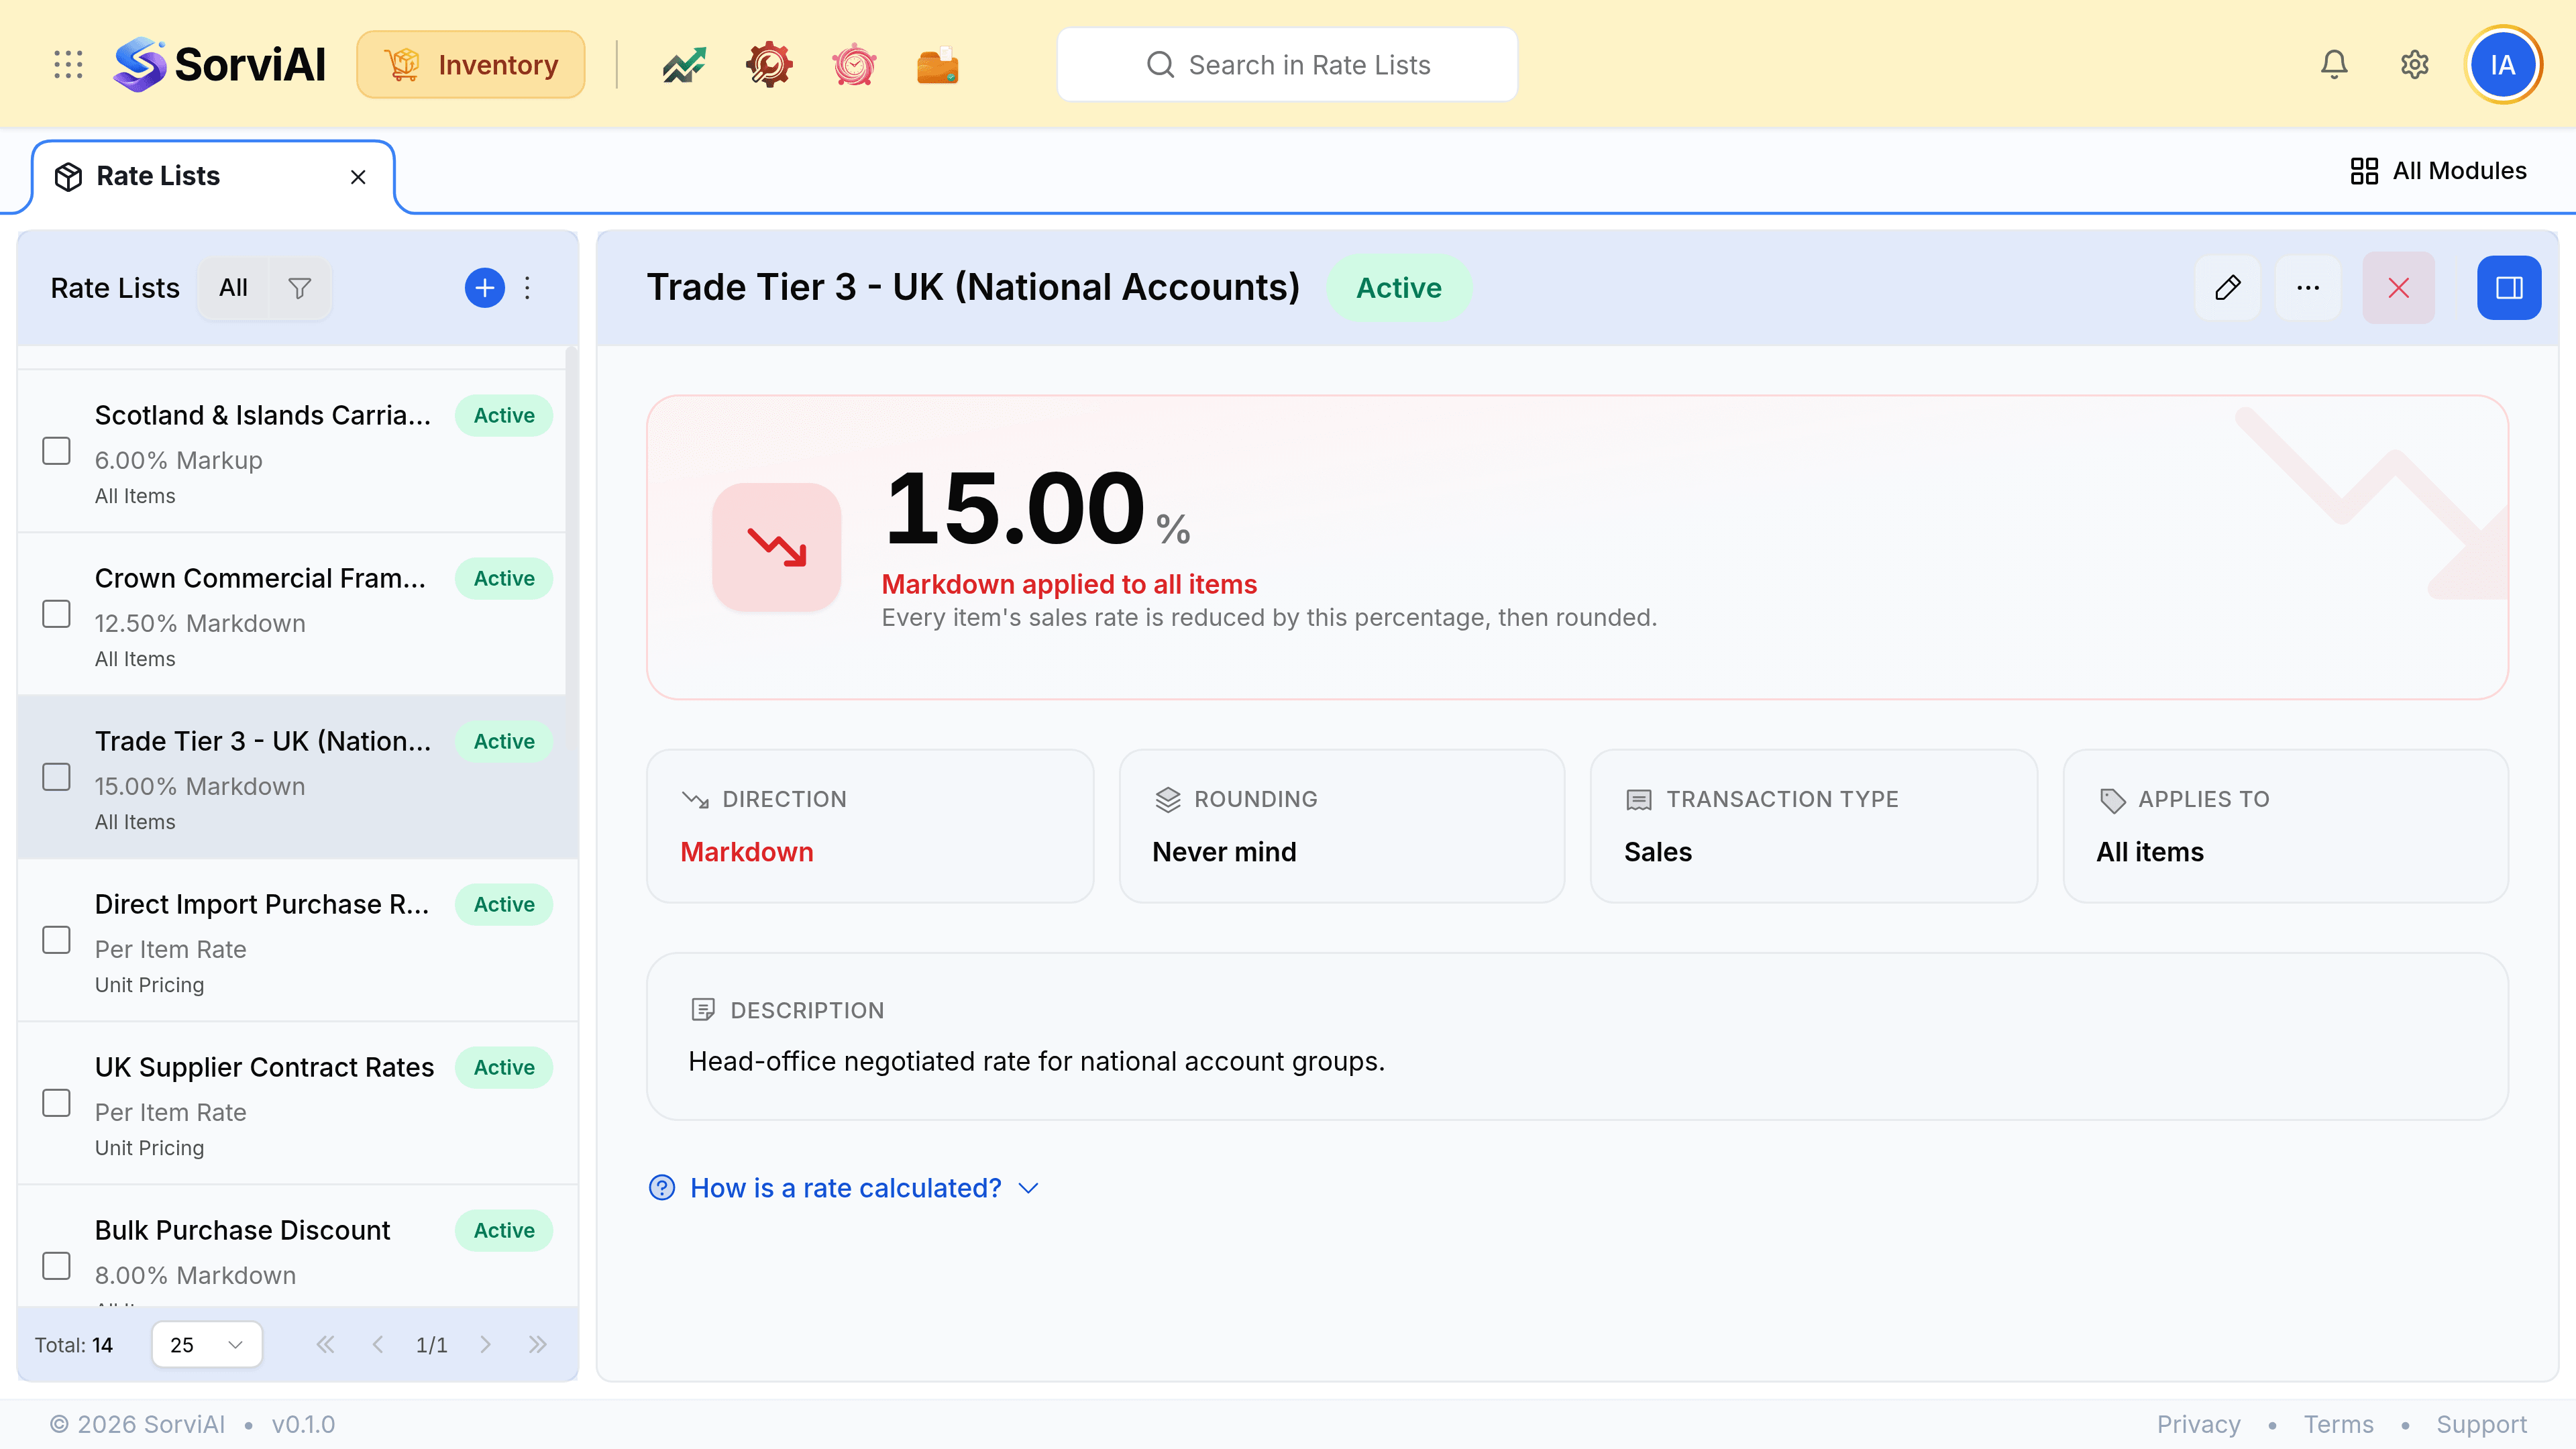
Attach it to a contact
Open the customer or vendor
A Sales rate list attaches to a customer; a Purchase rate list attaches to a vendor. The Transaction Type on the list decides which contacts can take it.
Choose the rate list, and save
From then on every document raised for that contact fills its rates from the list rather than from the items.
Or choose one on the document
Every sales and purchase document carries a rate list field of its own. Setting it there applies the list to that document only, which is what you want for a one-off agreed price.
What wins
| Situation | The rate that applies |
|---|---|
| No rate list anywhere | The item's own selling or cost price |
| A list on the contact | That list's rate |
| A different list chosen on the document | The document's list, for that document |
| A price typed on the line | What you typed. A line edit always wins |