Label a file
Put one or more of your labels on a file, or take them off, from the file's menu in any list that has one.
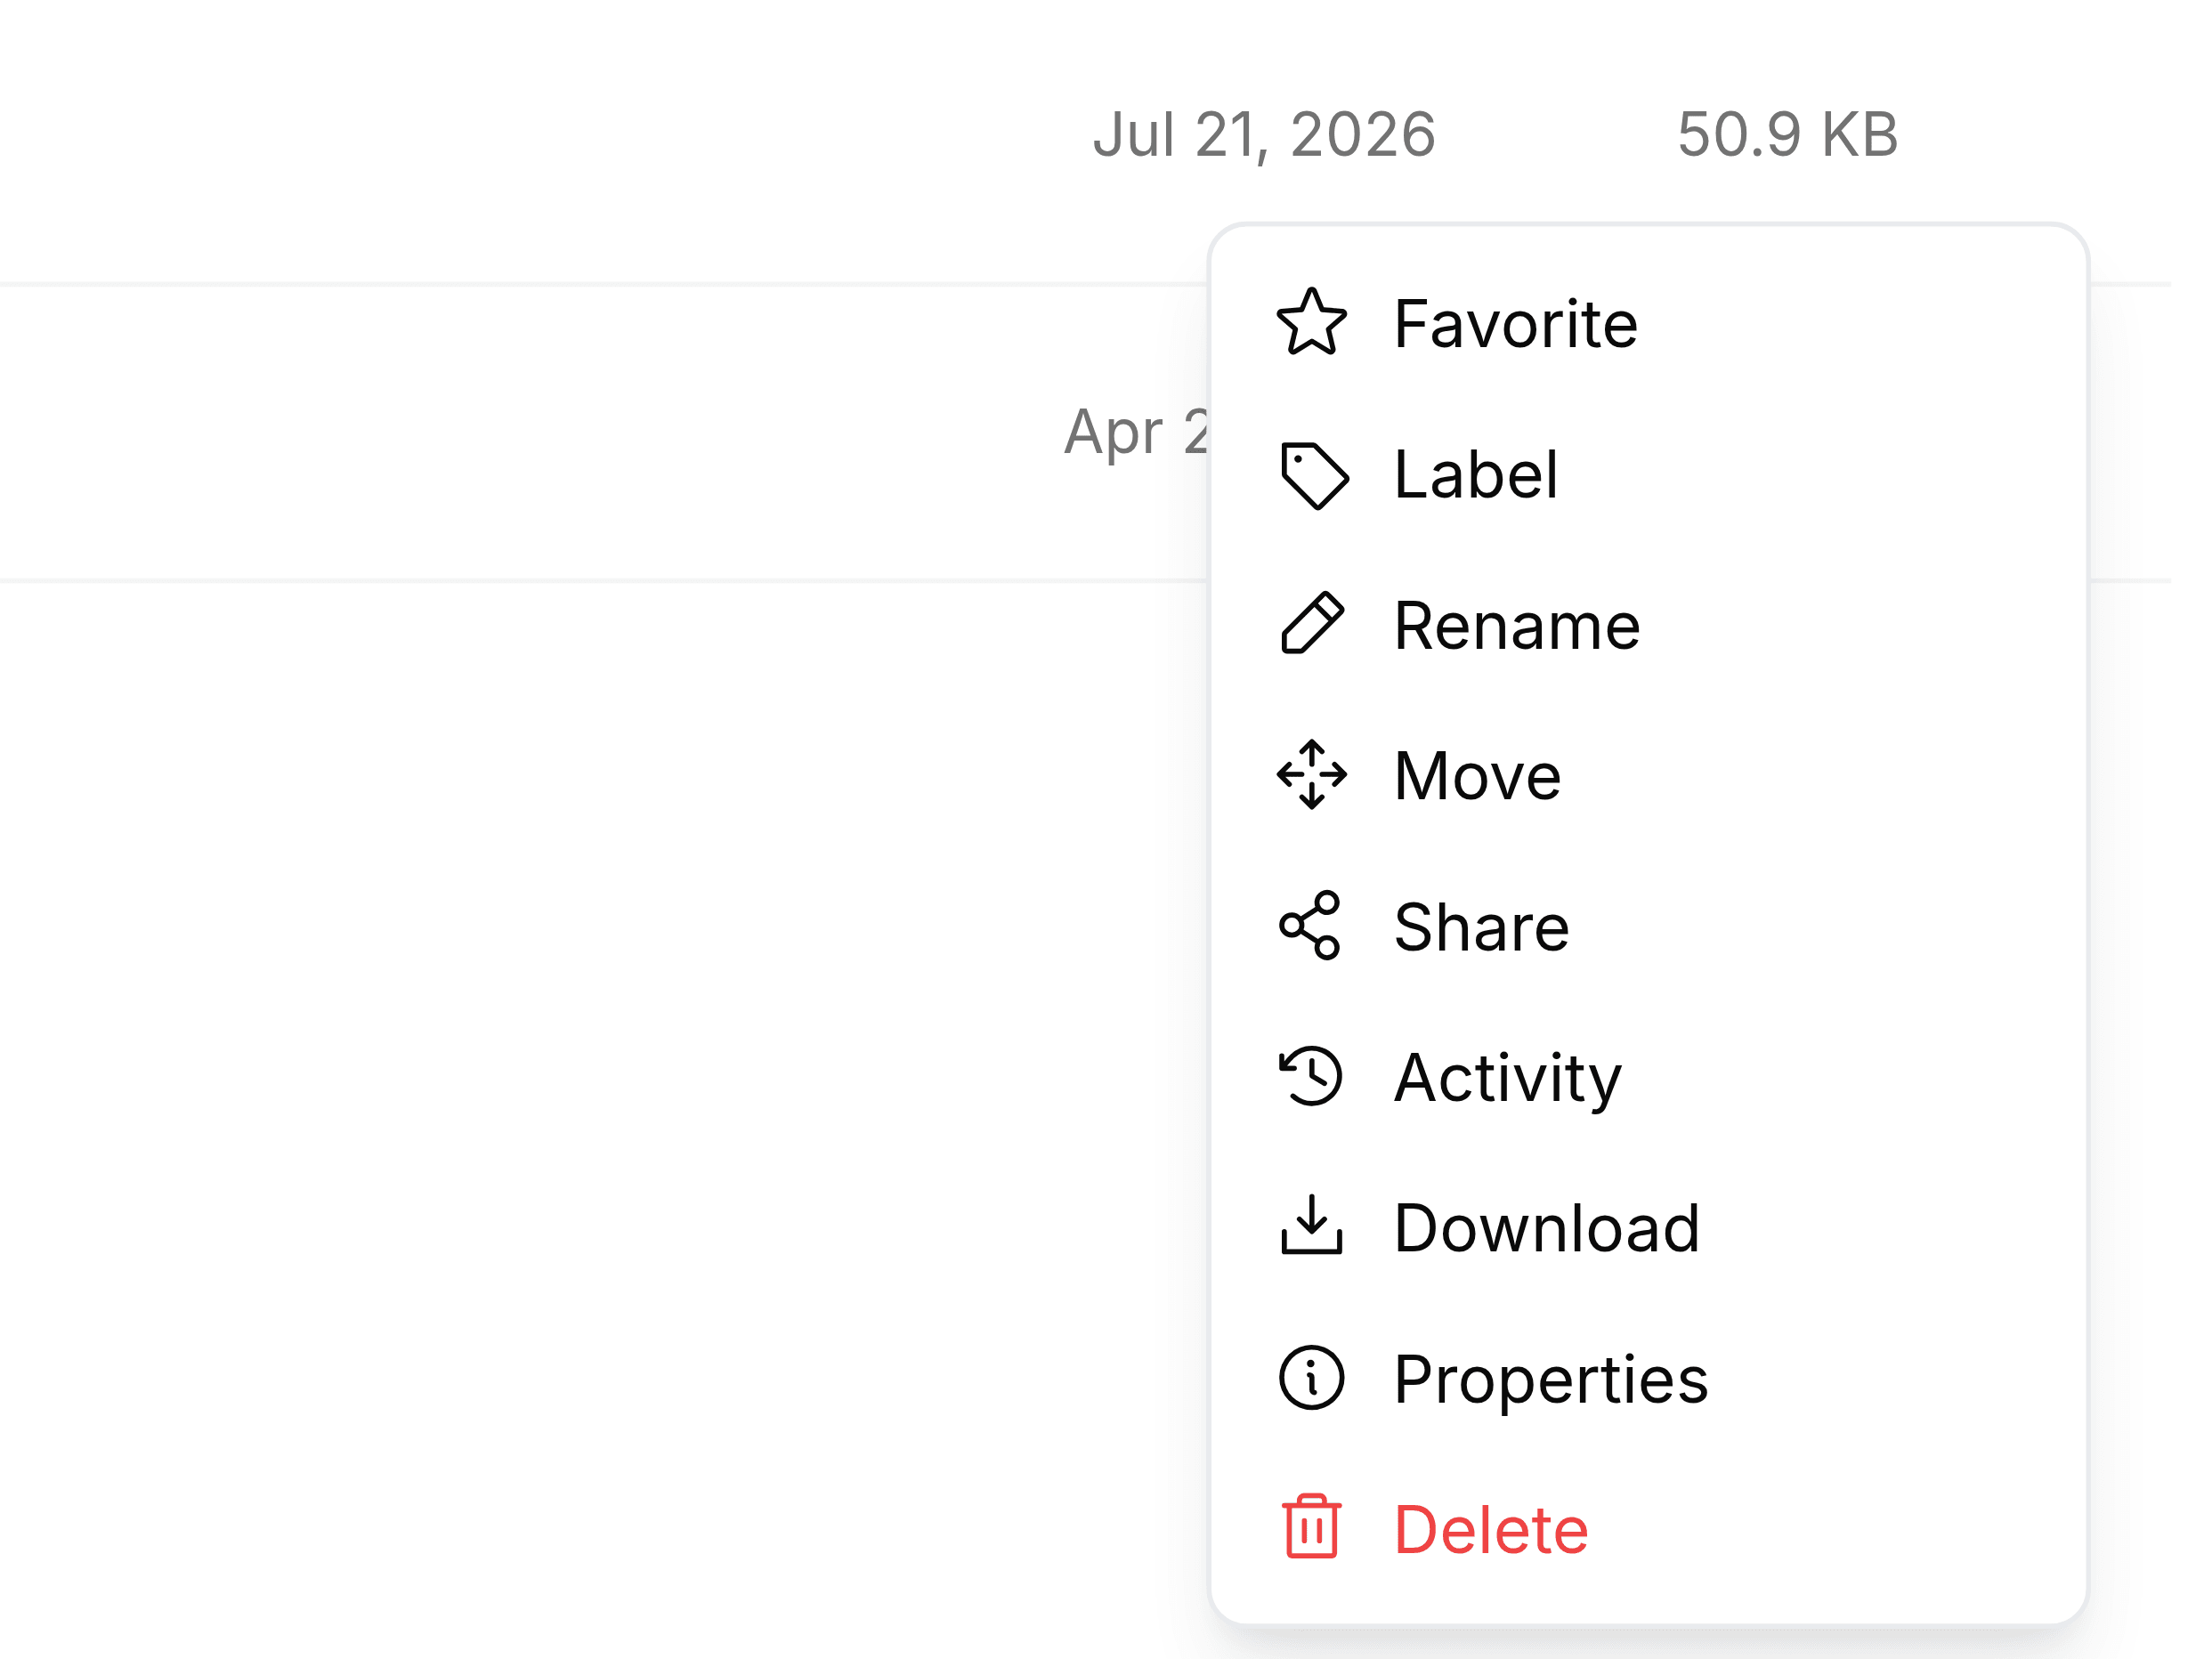
Labels go on from the same place wherever you are: the menu at the end of a file's row. That menu is on every file in My Folders, Team Folders, Recent Files and a label's own list.
Add or remove labels
Point at the file's row and select the three dots at its right-hand end.
Select Label.
Select each label the file should carry, so it shows a tick. Select a ticked label to take it off.
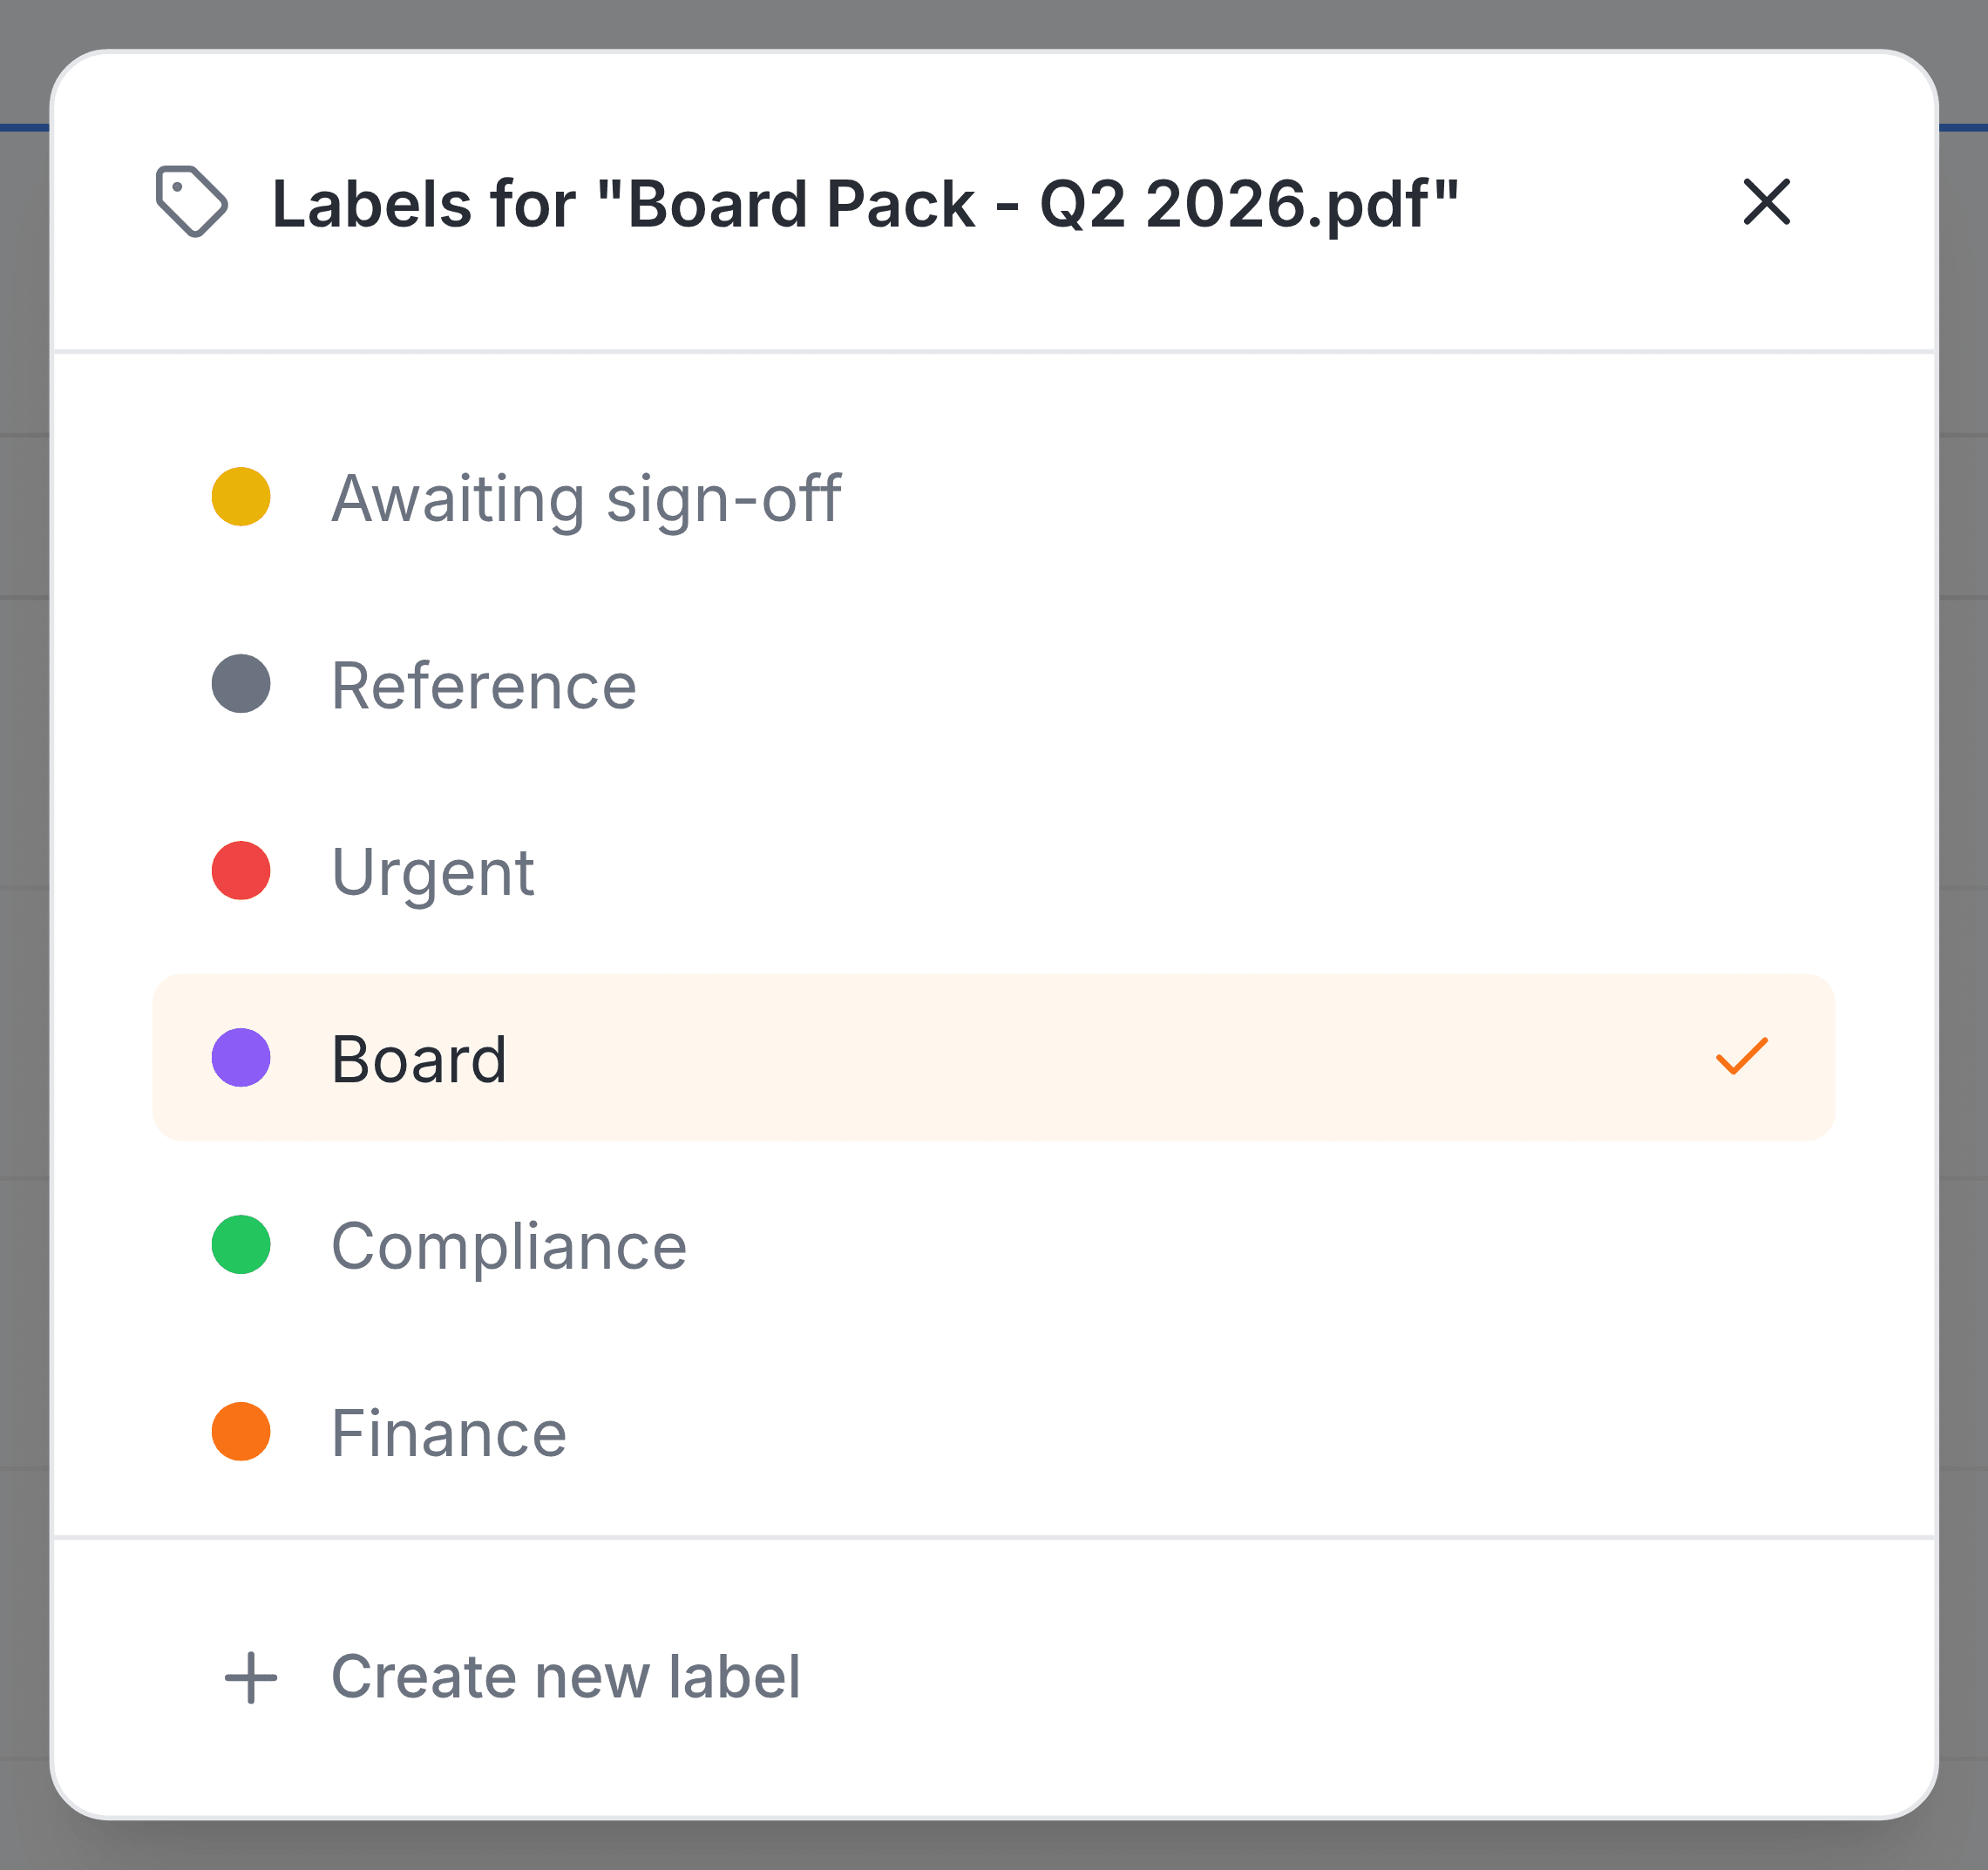
Select Save. The button appears once something has changed; closing the panel without it changes nothing.
When you have more labels than the panel can show, the list scrolls. Here the seventh, Client-facing, sits just below Finance.
What labelling does and doesn't do
- It groups the file
- The file appears in that label's list straight away, alongside every other file with the same label.
- It leaves the file where it is
- No move, no copy. The file stays in its folder with the same name.
- It leaves colleagues' labels alone
- Saving changes only your labels on the file. Any a colleague has added stay exactly as they were.
- It shows in the file's history
- The file's Activity records that you updated labels, without saying which.