Create a label
Make a new label on the Labels screen, or straight from the label picker while you're tagging a file.
A label is a name and a colour, nothing more. Make one ahead of time on the Labels screen, or make it in the middle of tagging a file when you realise the label you want doesn't exist yet.
On the Labels screen
Go to Labels and select New Label at the top right.
Enter a name, then select one of the eight colours. Blue is chosen unless you pick another.
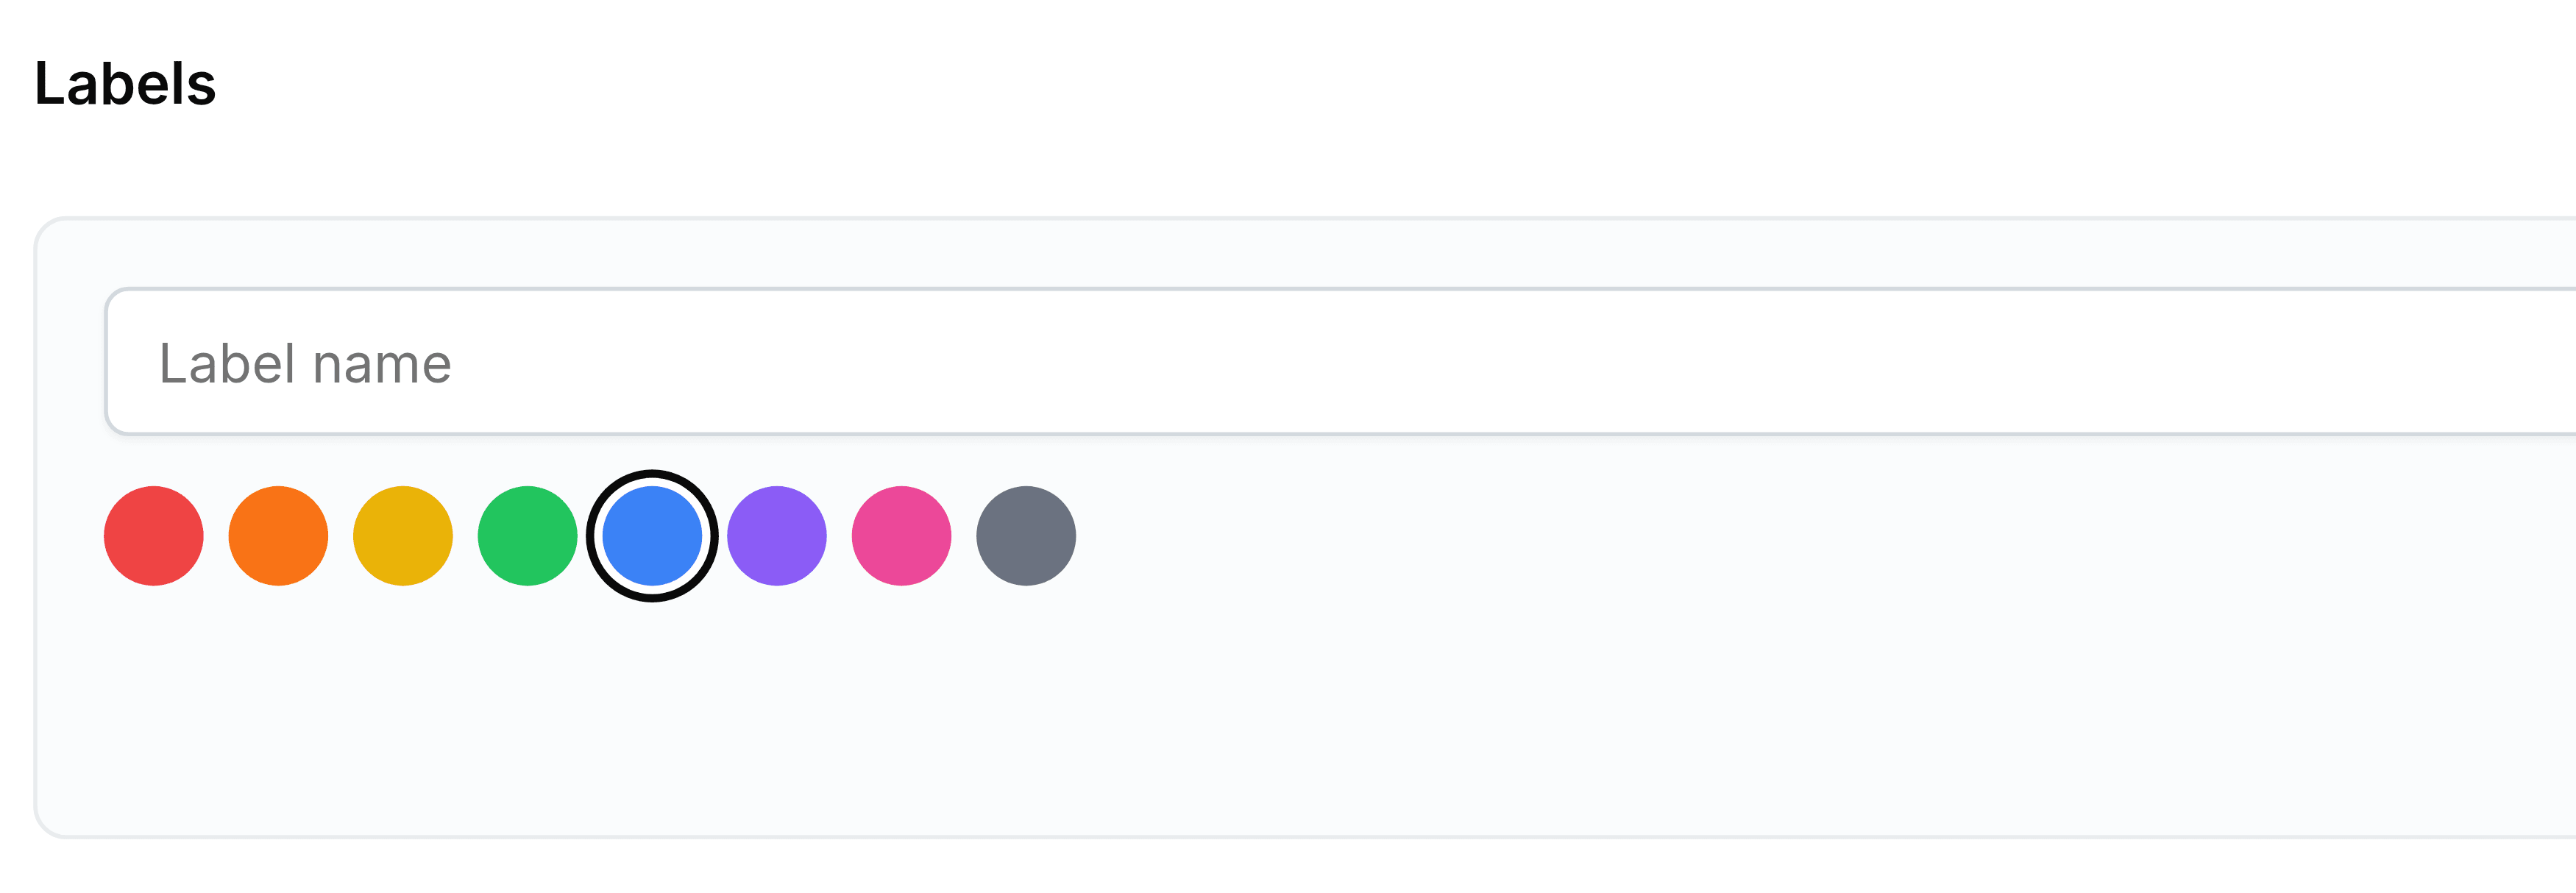
Select Create at the right-hand end of the form. The new label joins the list below, with no files yet.
While labelling a file
Open the file's menu, select Label, then select Create new label at the foot of the panel.
Enter a name, choose a colour and select Create.
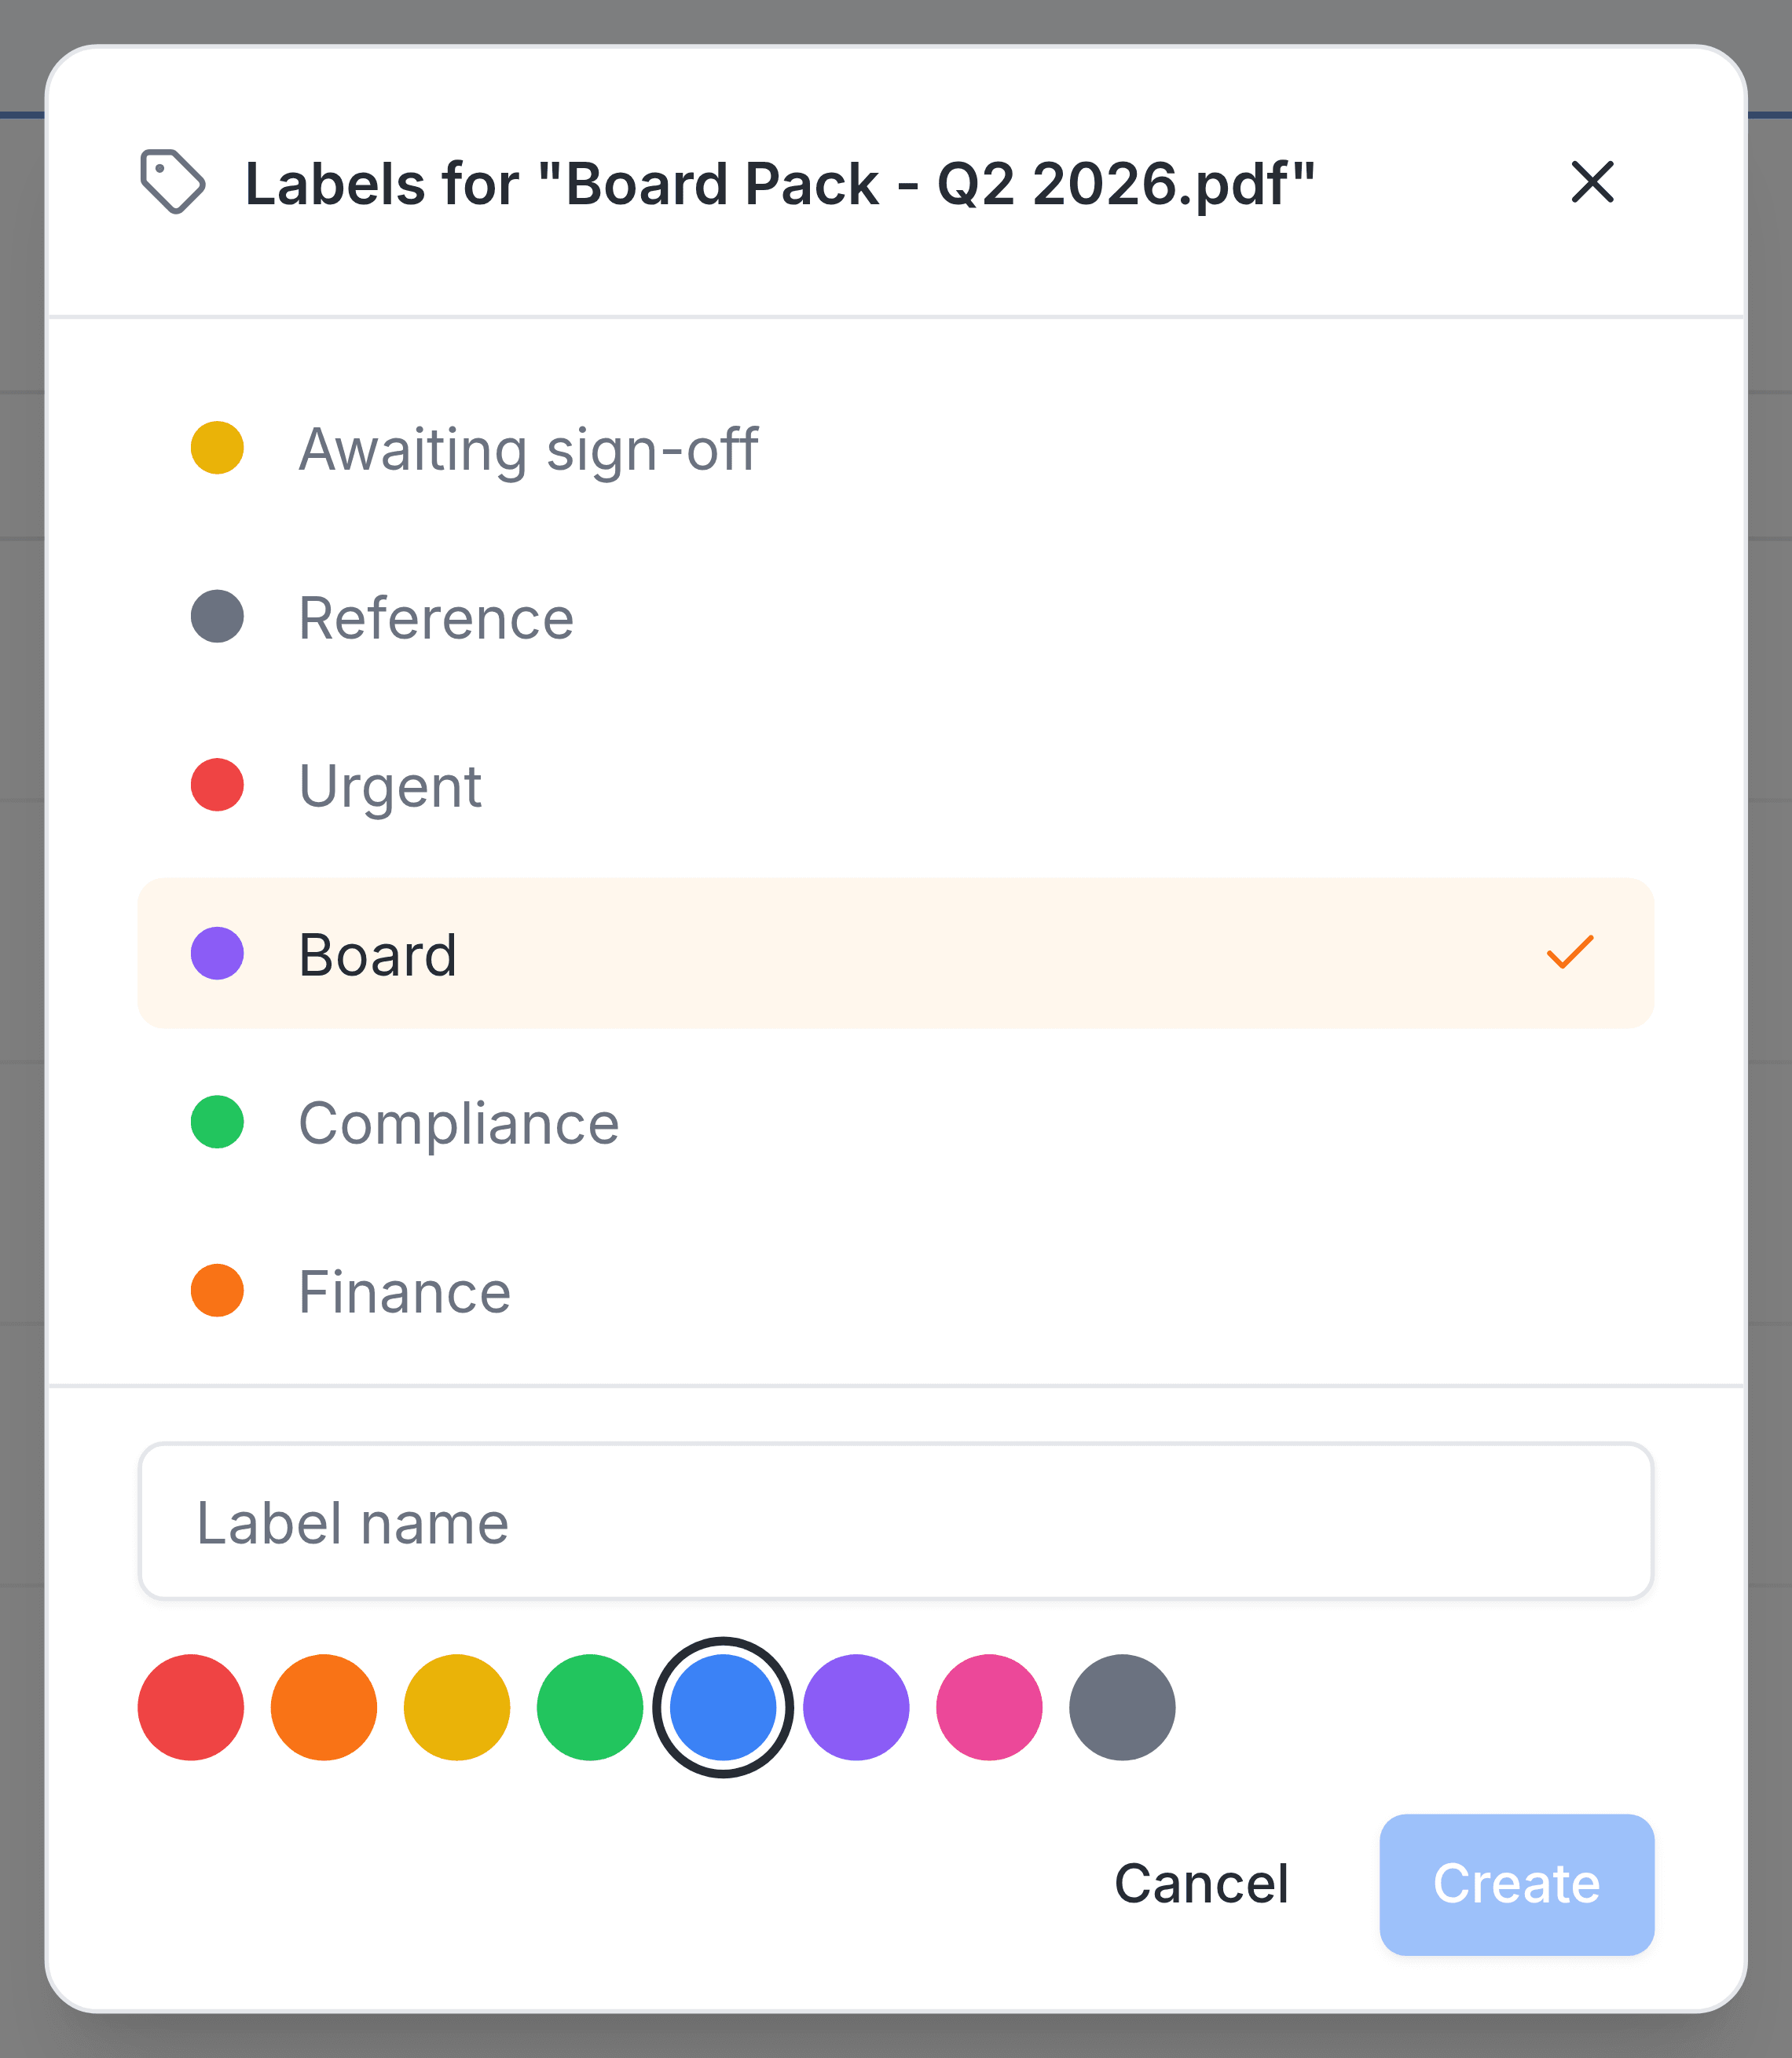
The new label joins the list already ticked. Select Save to put it on the file.