Create a ticket
Booking equipment in, from the customer standing at the counter to a saved repair job.
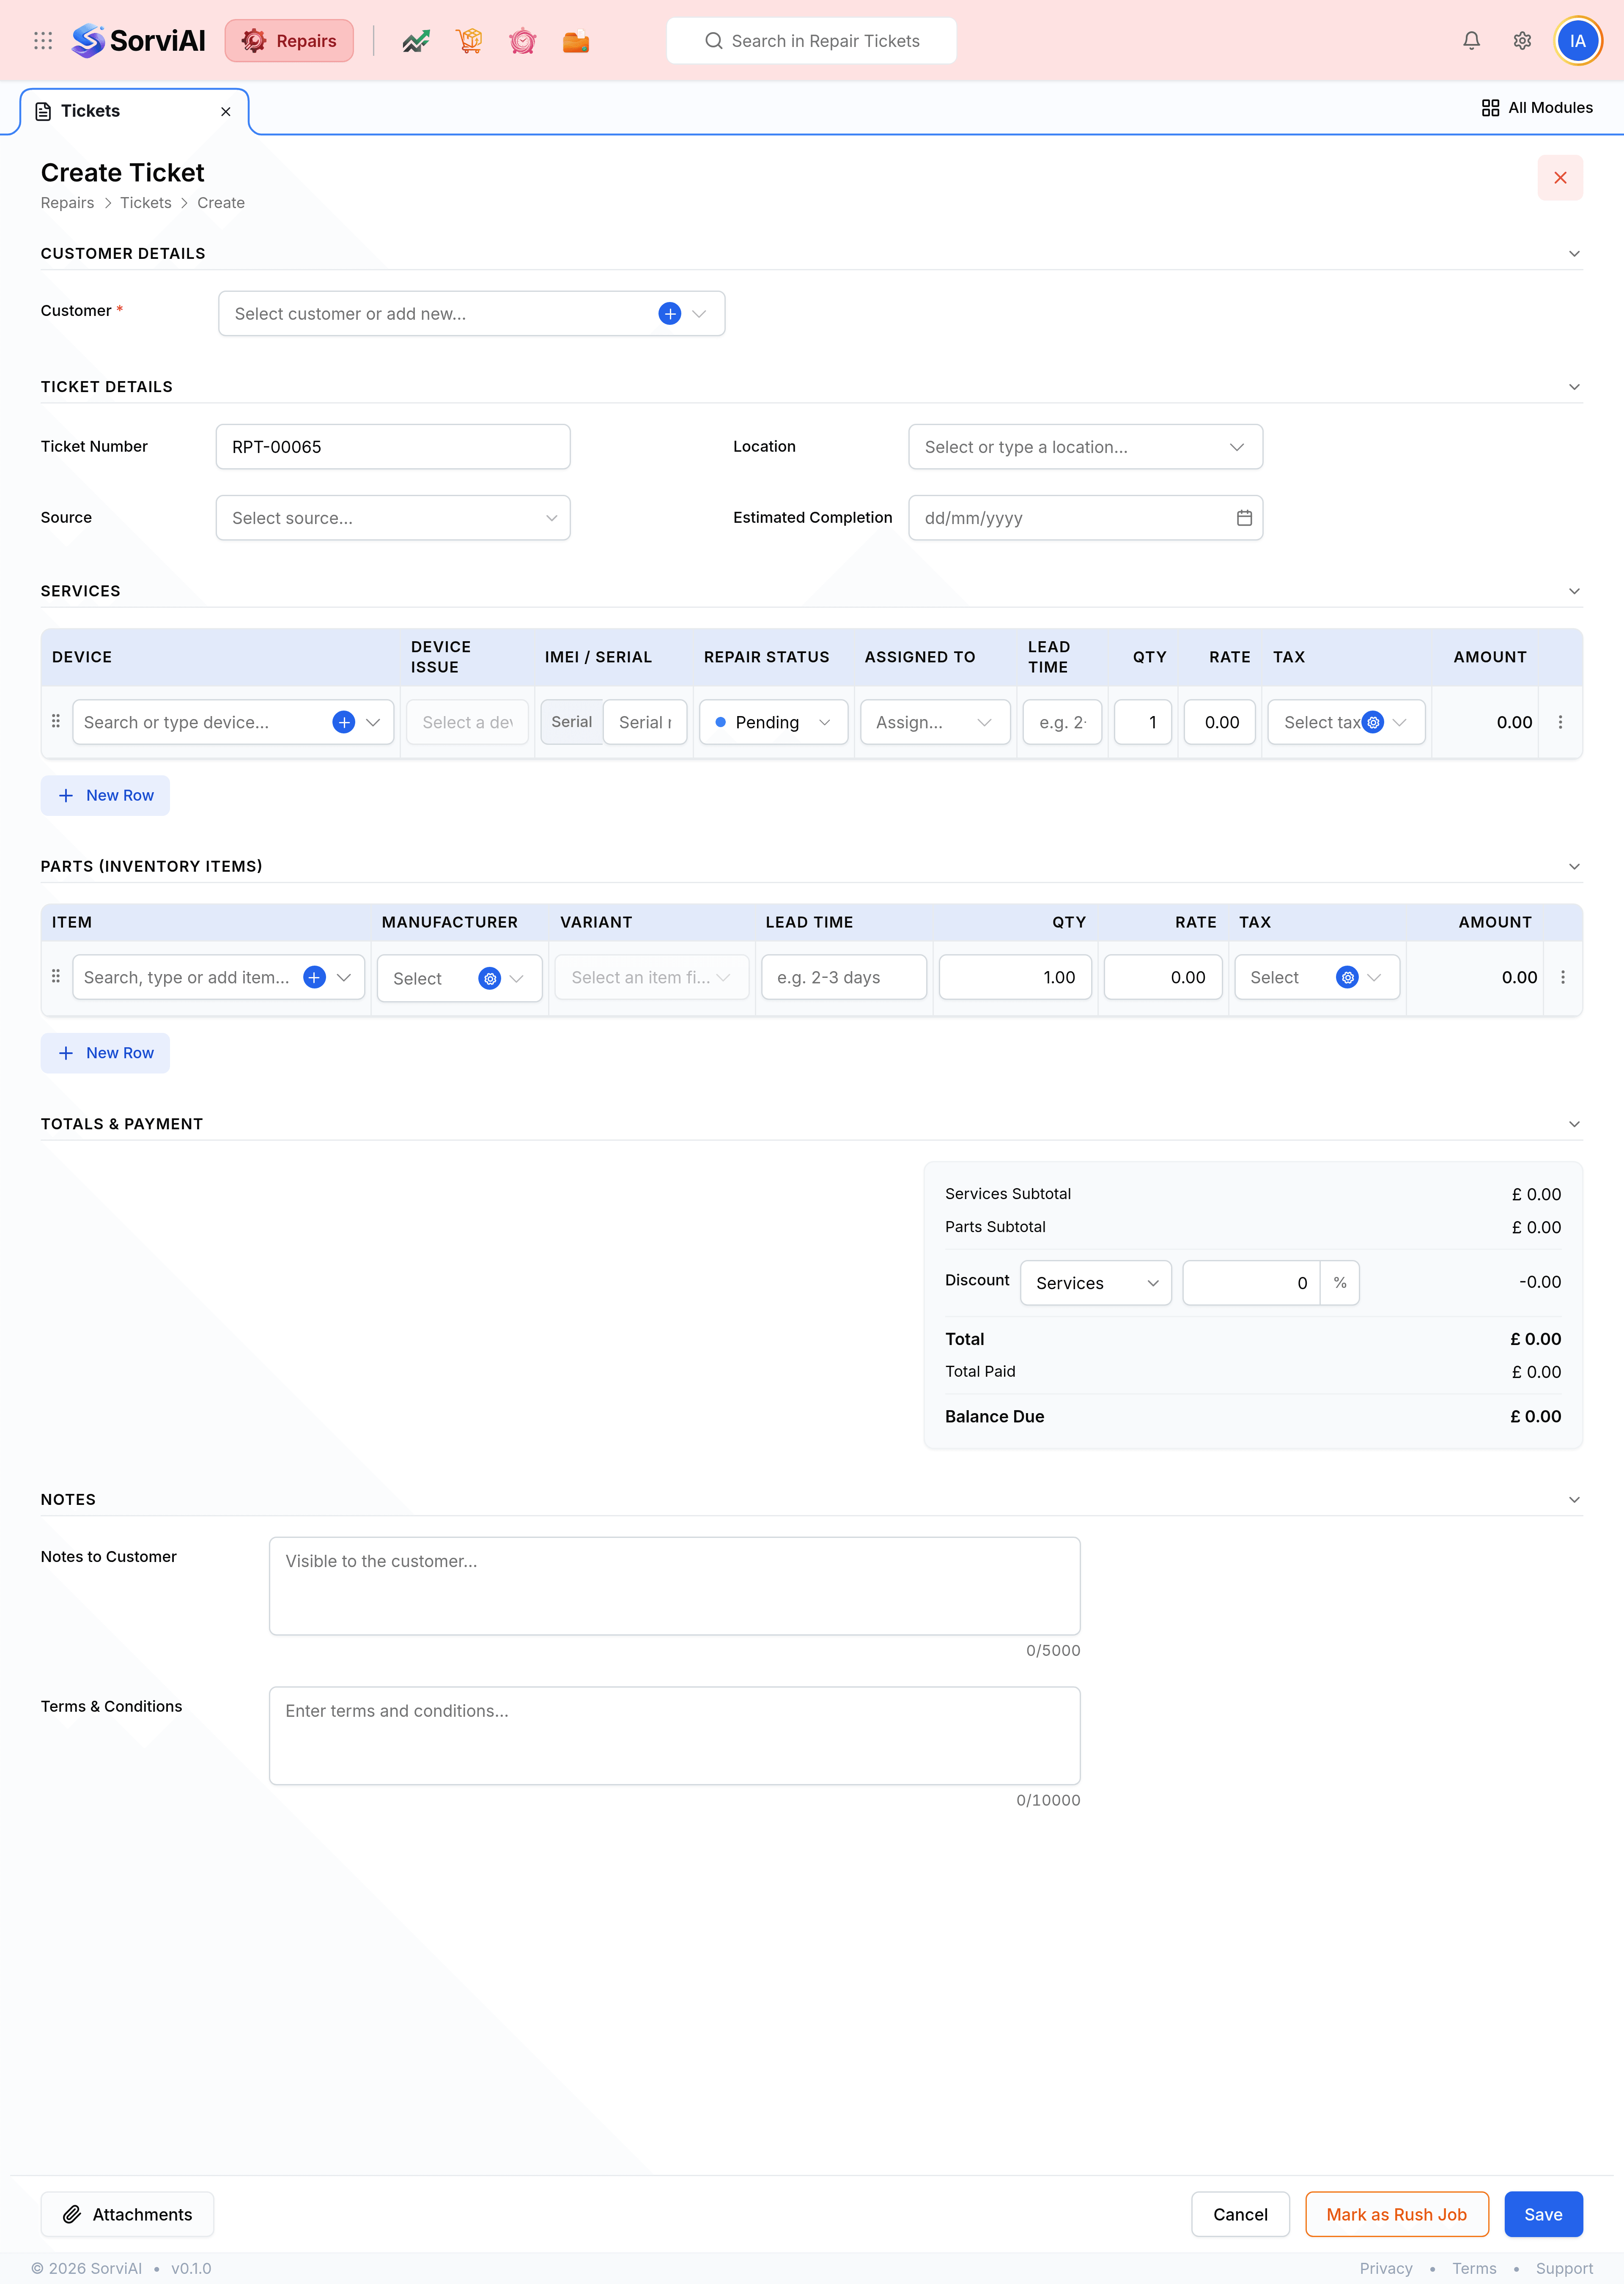
Booking equipment in is the one job everything else in Repairs waits on. The form is laid out in the order the conversation happens: who is this for, what have they brought you, what is wrong with it, and what will it cost.
Highlights
- Only the customer is required. Save a ticket with nothing else on it and come back.
- The ticket number is already there when the form opens, and it is yours to change.
- Add a customer without leaving the form using the plus beside the picker.
- Services and parts are separate tables, because labour and materials are priced apart.
- Mark as Rush Job is a button on the form, not a field buried in it.
Fill in the form
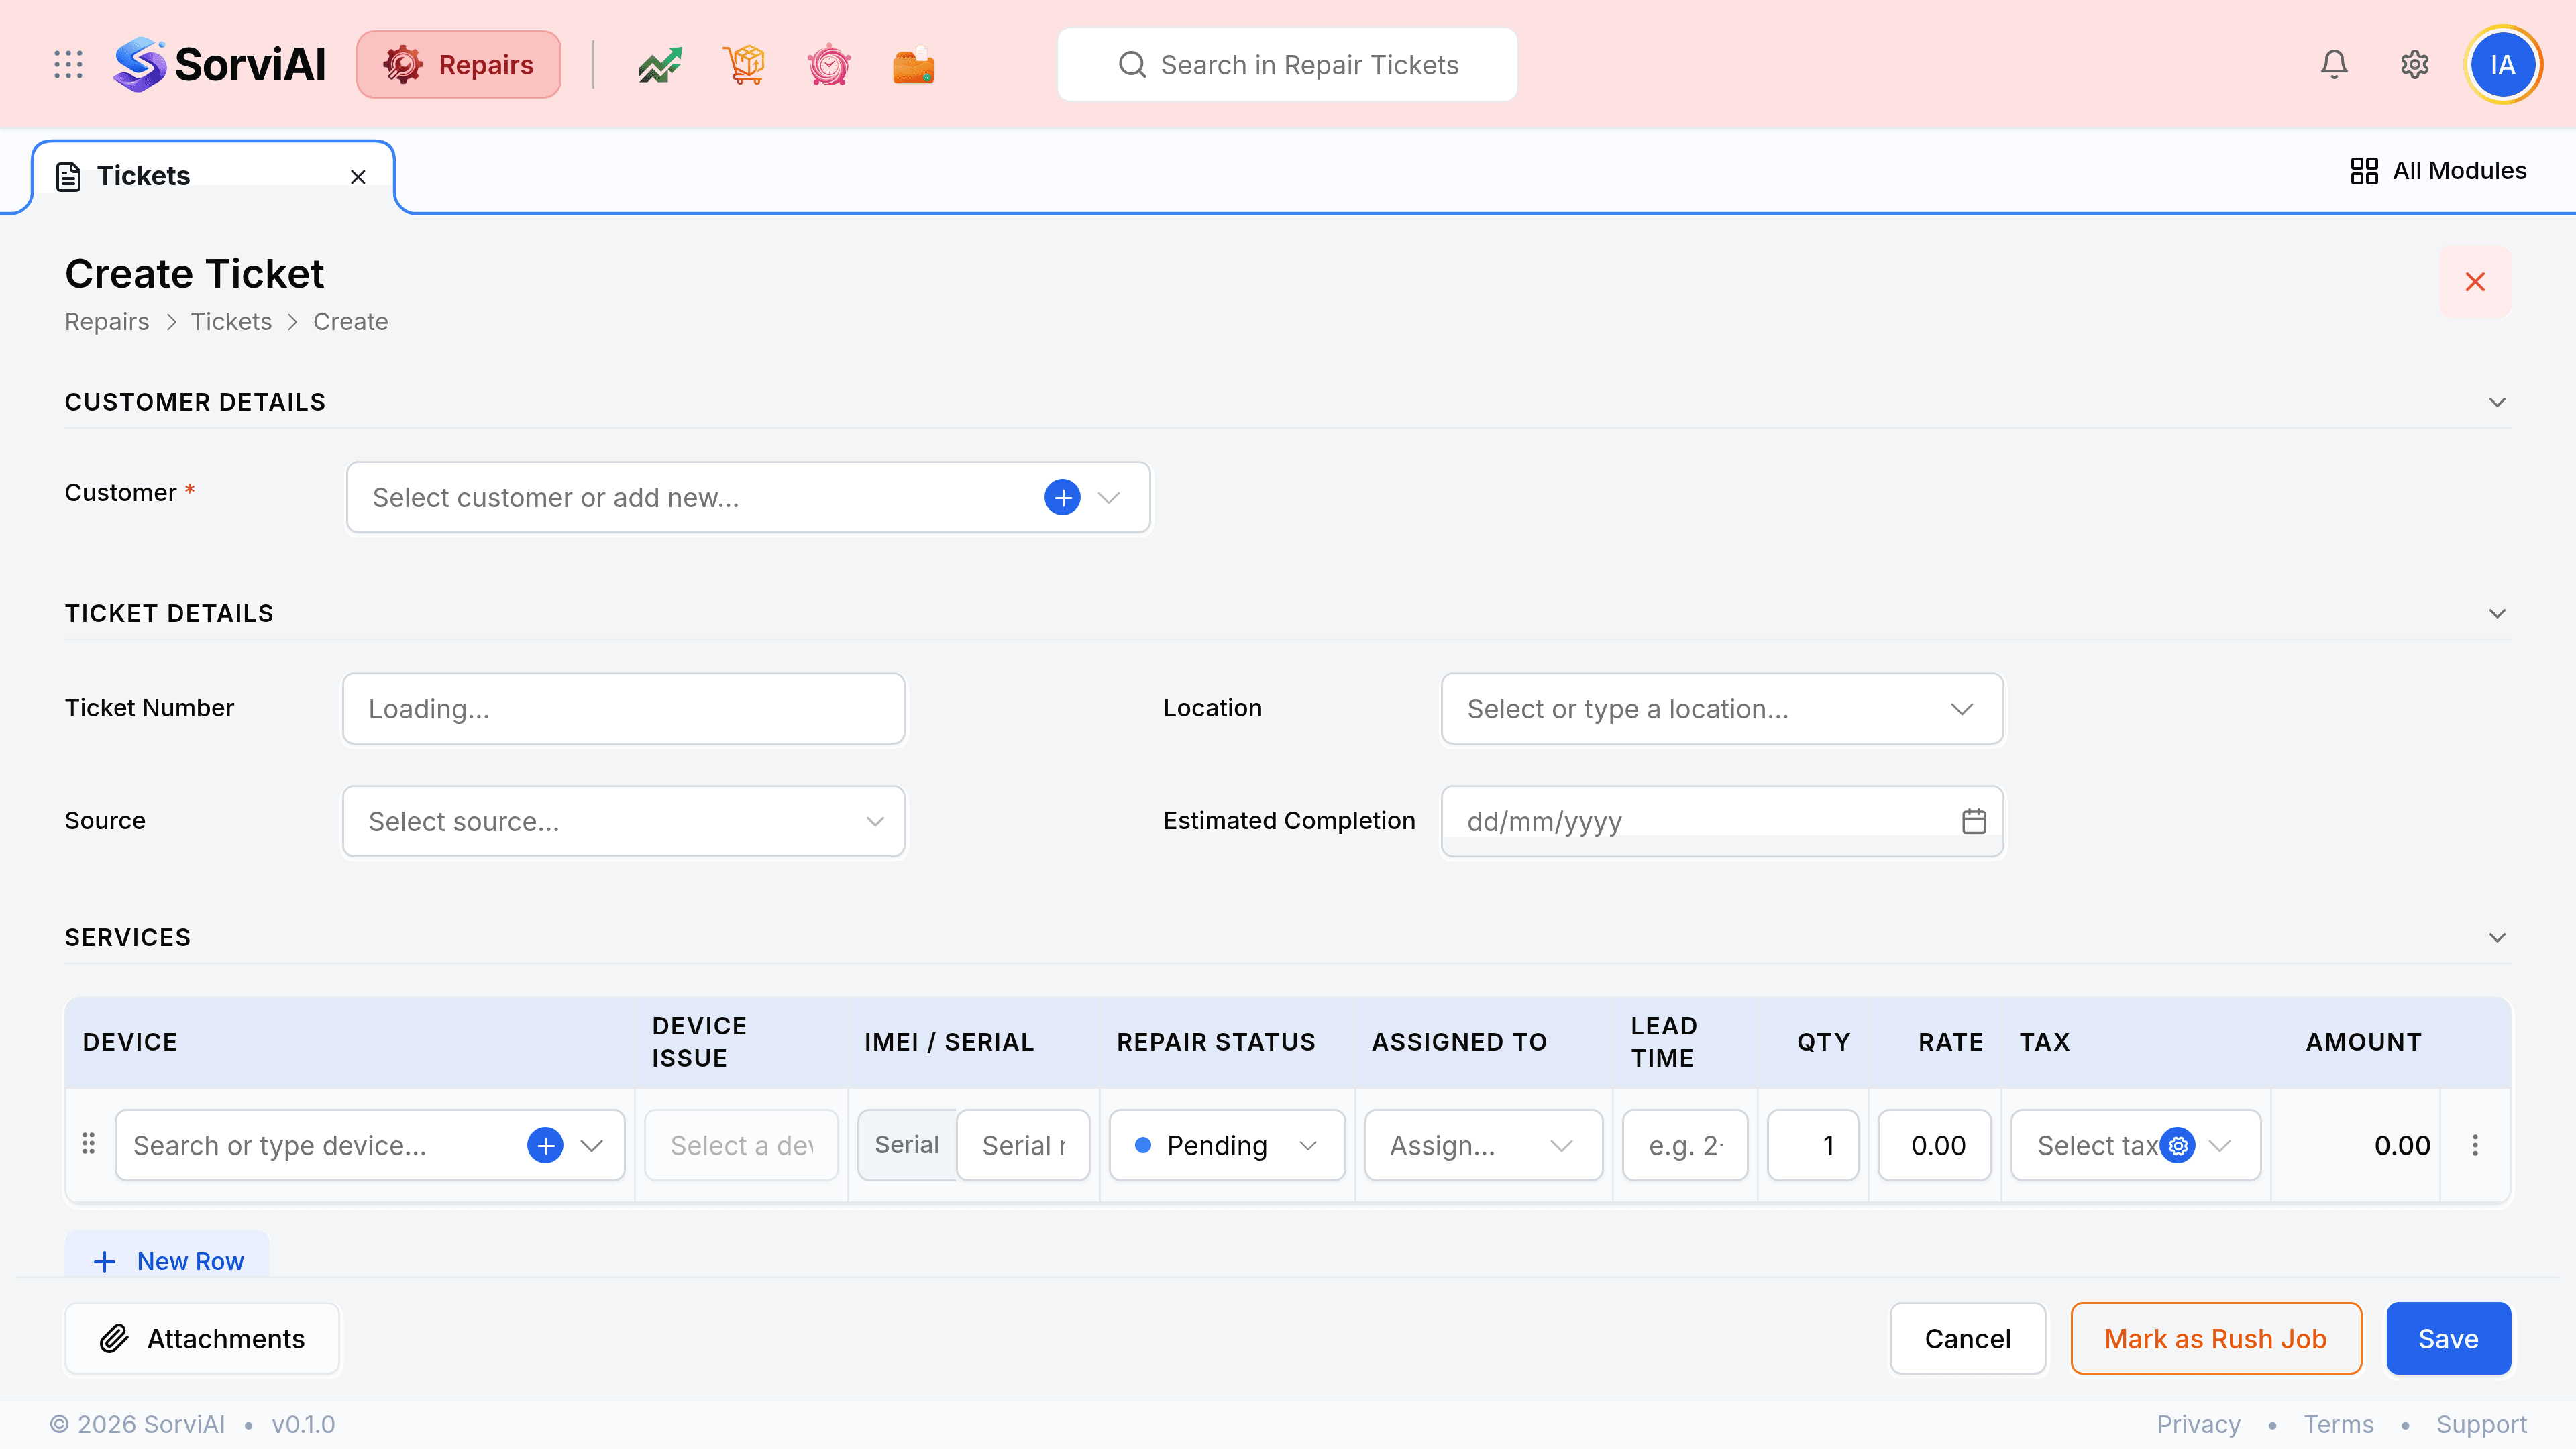
Go to Tickets, then select the Ticket button
The form opens with a fresh ticket number already filled in.
Choose the customer
Start typing to search your existing contacts. If they are new, select the plus beside the picker and add them without losing what you have entered.
Set the ticket details
Location is the depot holding the equipment, Source is how the job reached you, and Est. Completion is the date you are prepared to tell the customer.
Add a service row for each repair
One row per piece of equipment and per fault. Enter the device, pick the fault, record the serial number, and set the rate. Select New Row for the next one.
Add the parts you expect to fit
Search the parts you stock in the Parts table. Leave it empty if you do not yet know what the repair needs.
Check the totals and add any notes
Notes to Customer appears on what they receive. Terms and Conditions carries through to the printed ticket.
Select Save
The ticket is on the list, and the repair can start.
The fields worth understanding
| Field | What it does |
|---|---|
| Customer | The only required field on the form. It sets who is billed and where the equipment goes back to, and its addresses fill the billing and shipping blocks. |
| Ticket # | Issued in sequence when the form opens. Overwrite it if your workshop numbers jobs its own way, but keep them unique. |
| Location | The depot or bench holding the equipment. Worth setting on every ticket if you run more than one site, because it is the fastest way to find a physical item later. |
| Source | How the job arrived, such as a walk-in or a phone call. It feeds the report that tells you where your work comes from. |
| Est. Completion | The date you are promising. It drives the ageing report that finds jobs running late. |
What the money adds up to
Labour and materials are totalled apart and then brought together, so you can see at a glance which half of a repair is expensive.