
Create a customer
Adding the person or business a repair belongs to, either up front or in the middle of booking a job in.
A customer can be created before anybody walks in, or in the middle of booking a job when it turns out they are new. The second route matters more than it sounds: it is what stops somebody typing a name into the ticket and moving on.
Highlights
- Add one without leaving the ticket using the plus beside the customer picker.
- The addresses do real work: one bills, the other receives the repaired equipment.
- Terms of payment set every due date on every invoice you raise for them.
- A credit limit is optional and worth setting for anybody taking on large jobs.
- Extra people go in Other Contacts, not in a second customer record.
Create one
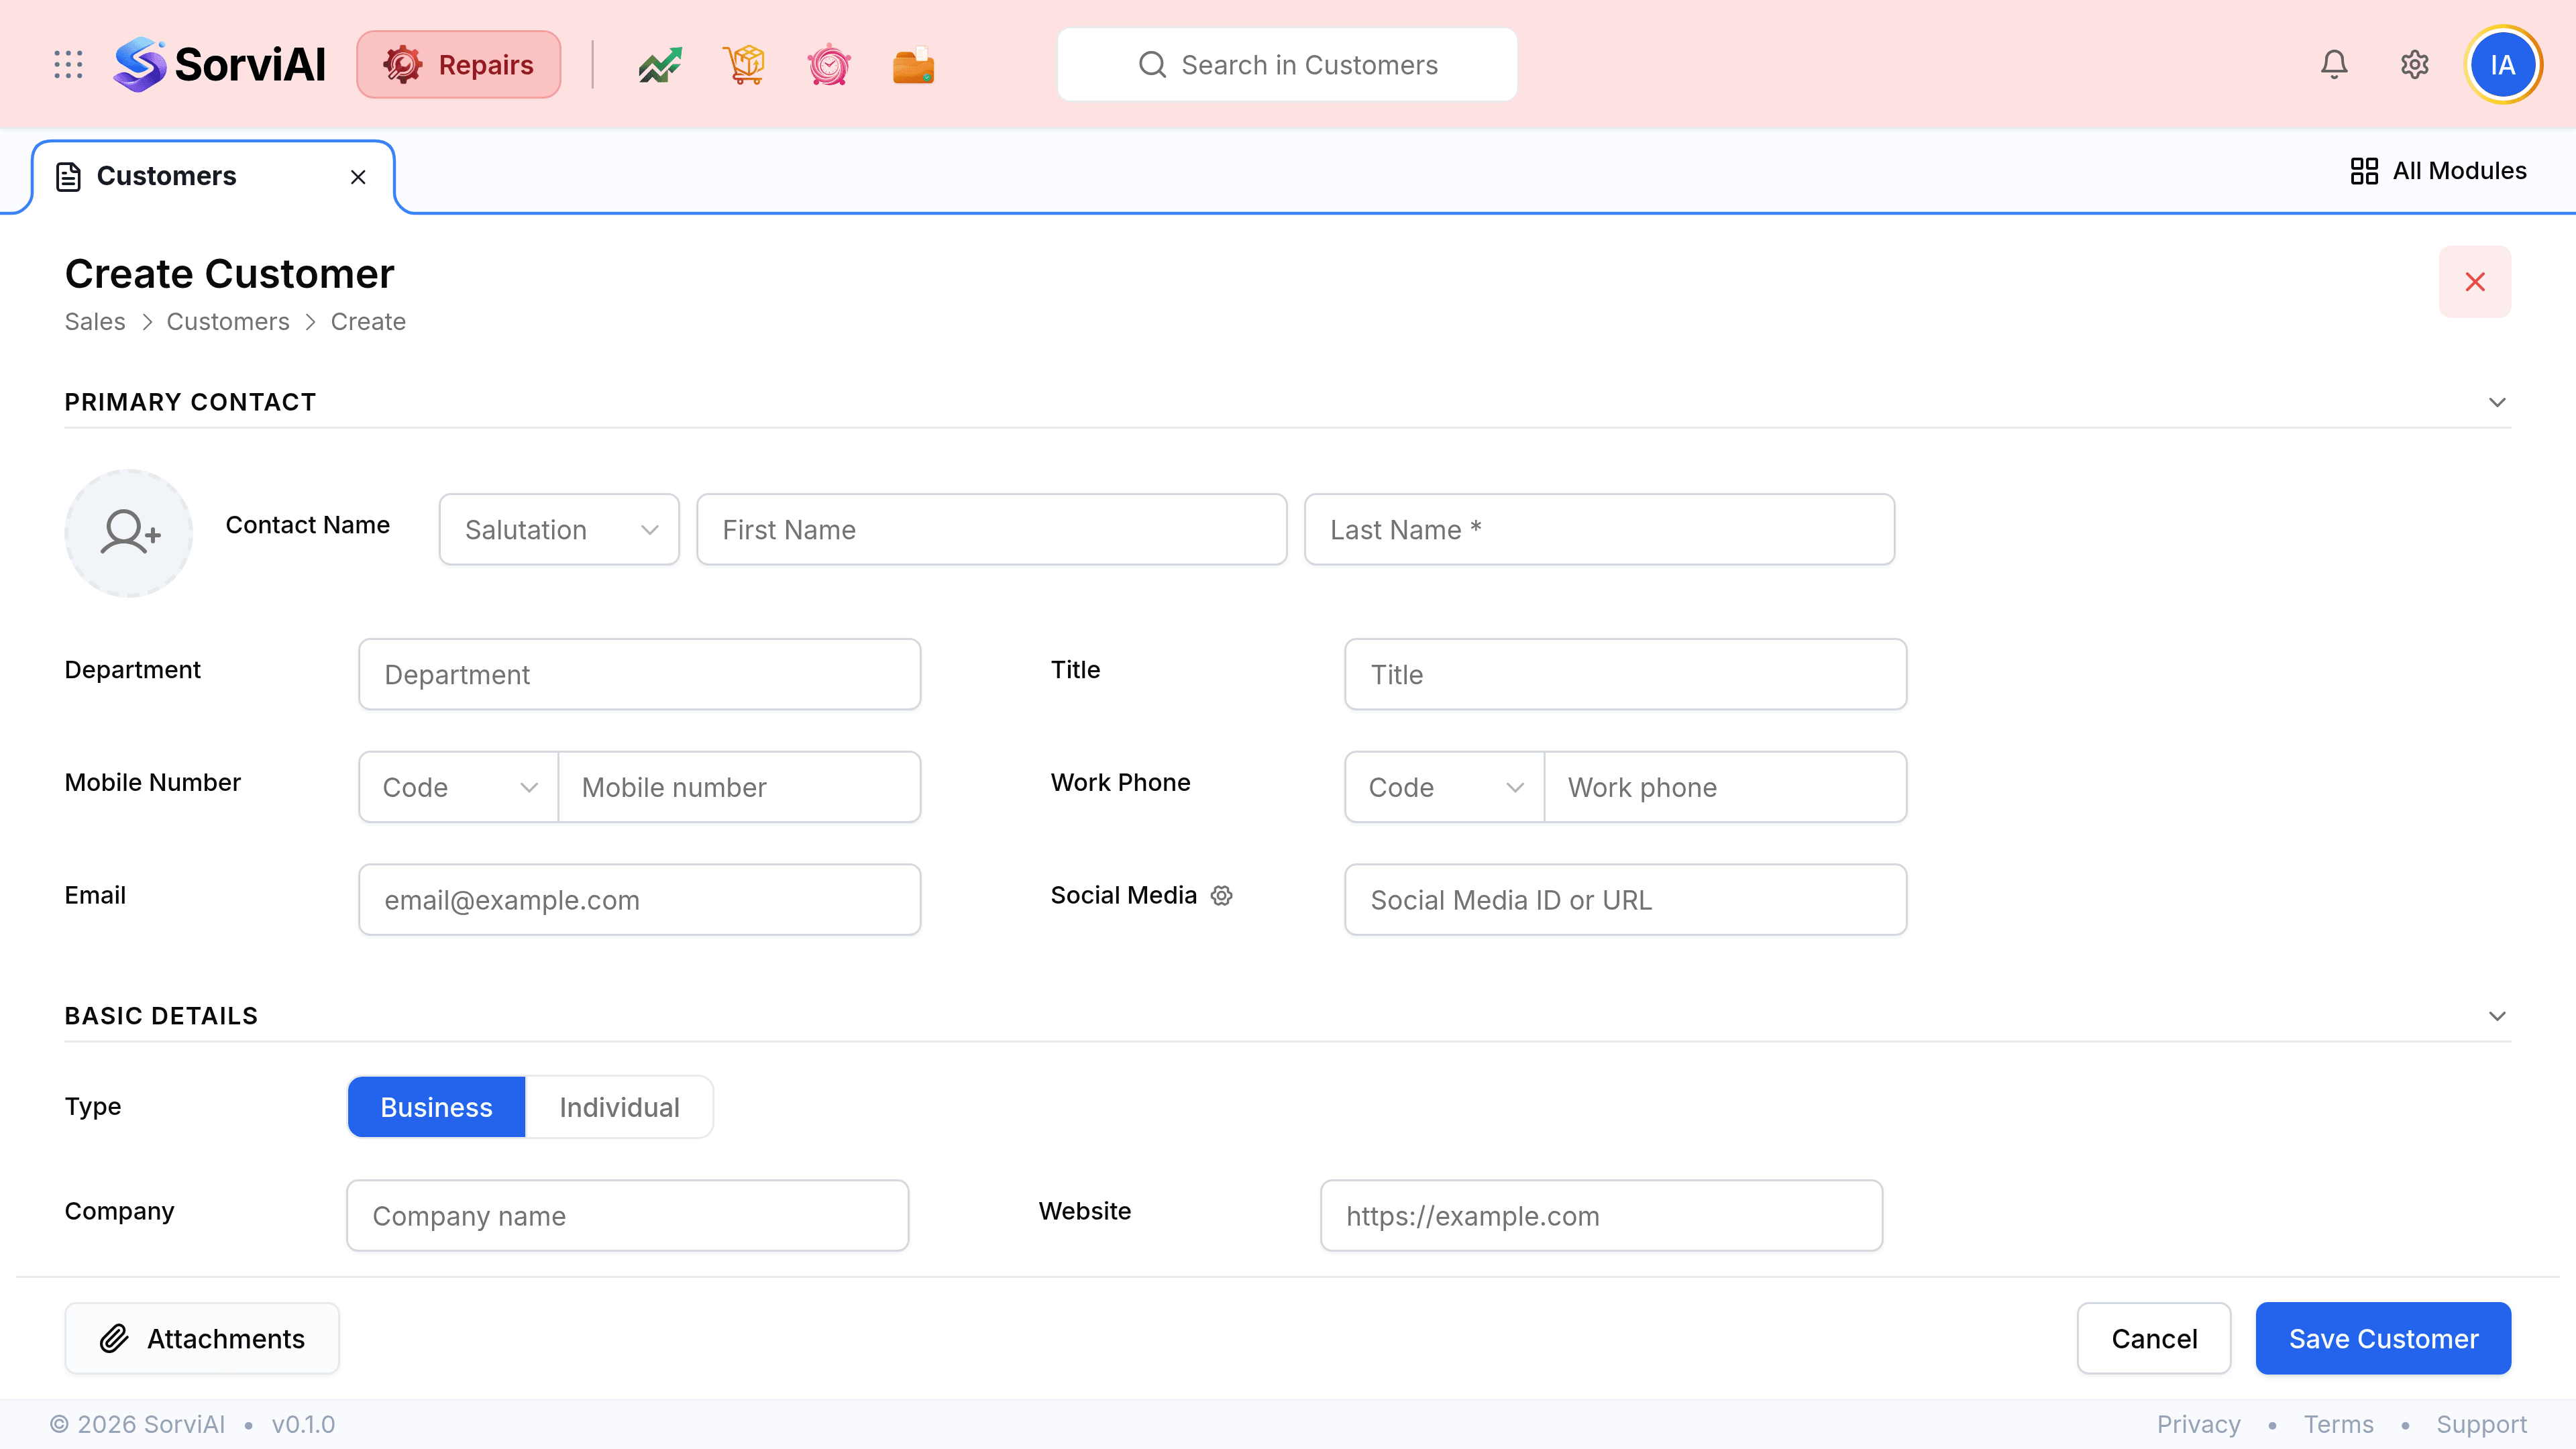
Go to Customers and select the Customer button
Or, if you are already booking a ticket in, select the plus beside the Customer picker and stay where you are.
Enter the primary contact and how to reach them
A last name is required; the rest of the block is the email address and the phone number your workshop will actually use to chase an estimate.
Choose whether they are a business or an individual, and set Display As
A business carries a company name; an individual does not. Display As is required and is the name every ticket, quote and invoice will show, so make it the one your team would search for.
Enter the billing address
Where invoices go. For a larger customer this is often an accounts department at a different site.
Enter the shipping address
Where repaired equipment goes back to. Copy the billing address only if you are sure they are the same.
Set the terms of payment
This decides the due date on every invoice they are sent, so it is worth agreeing before the first one.
Select Save
The customer can now be chosen on a ticket.