
Pack a repaired device
Creating the package a finished repair travels home in, and recording what actually went into the box.
Packing is the step between a repair being finished and it being sent. The form starts by asking which repair the box belongs to, and everything else follows from that answer.
Highlights
- The source document comes first, and in Repairs it defaults to a repair ticket.
- The ticket is the only required field on the source section.
- Record what went in, not what was ordered. They differ more often than anybody expects.
- Weight is what a carrier prices from, so it is worth entering properly.
- You can start from the ticket instead and skip choosing it here.
Create the package
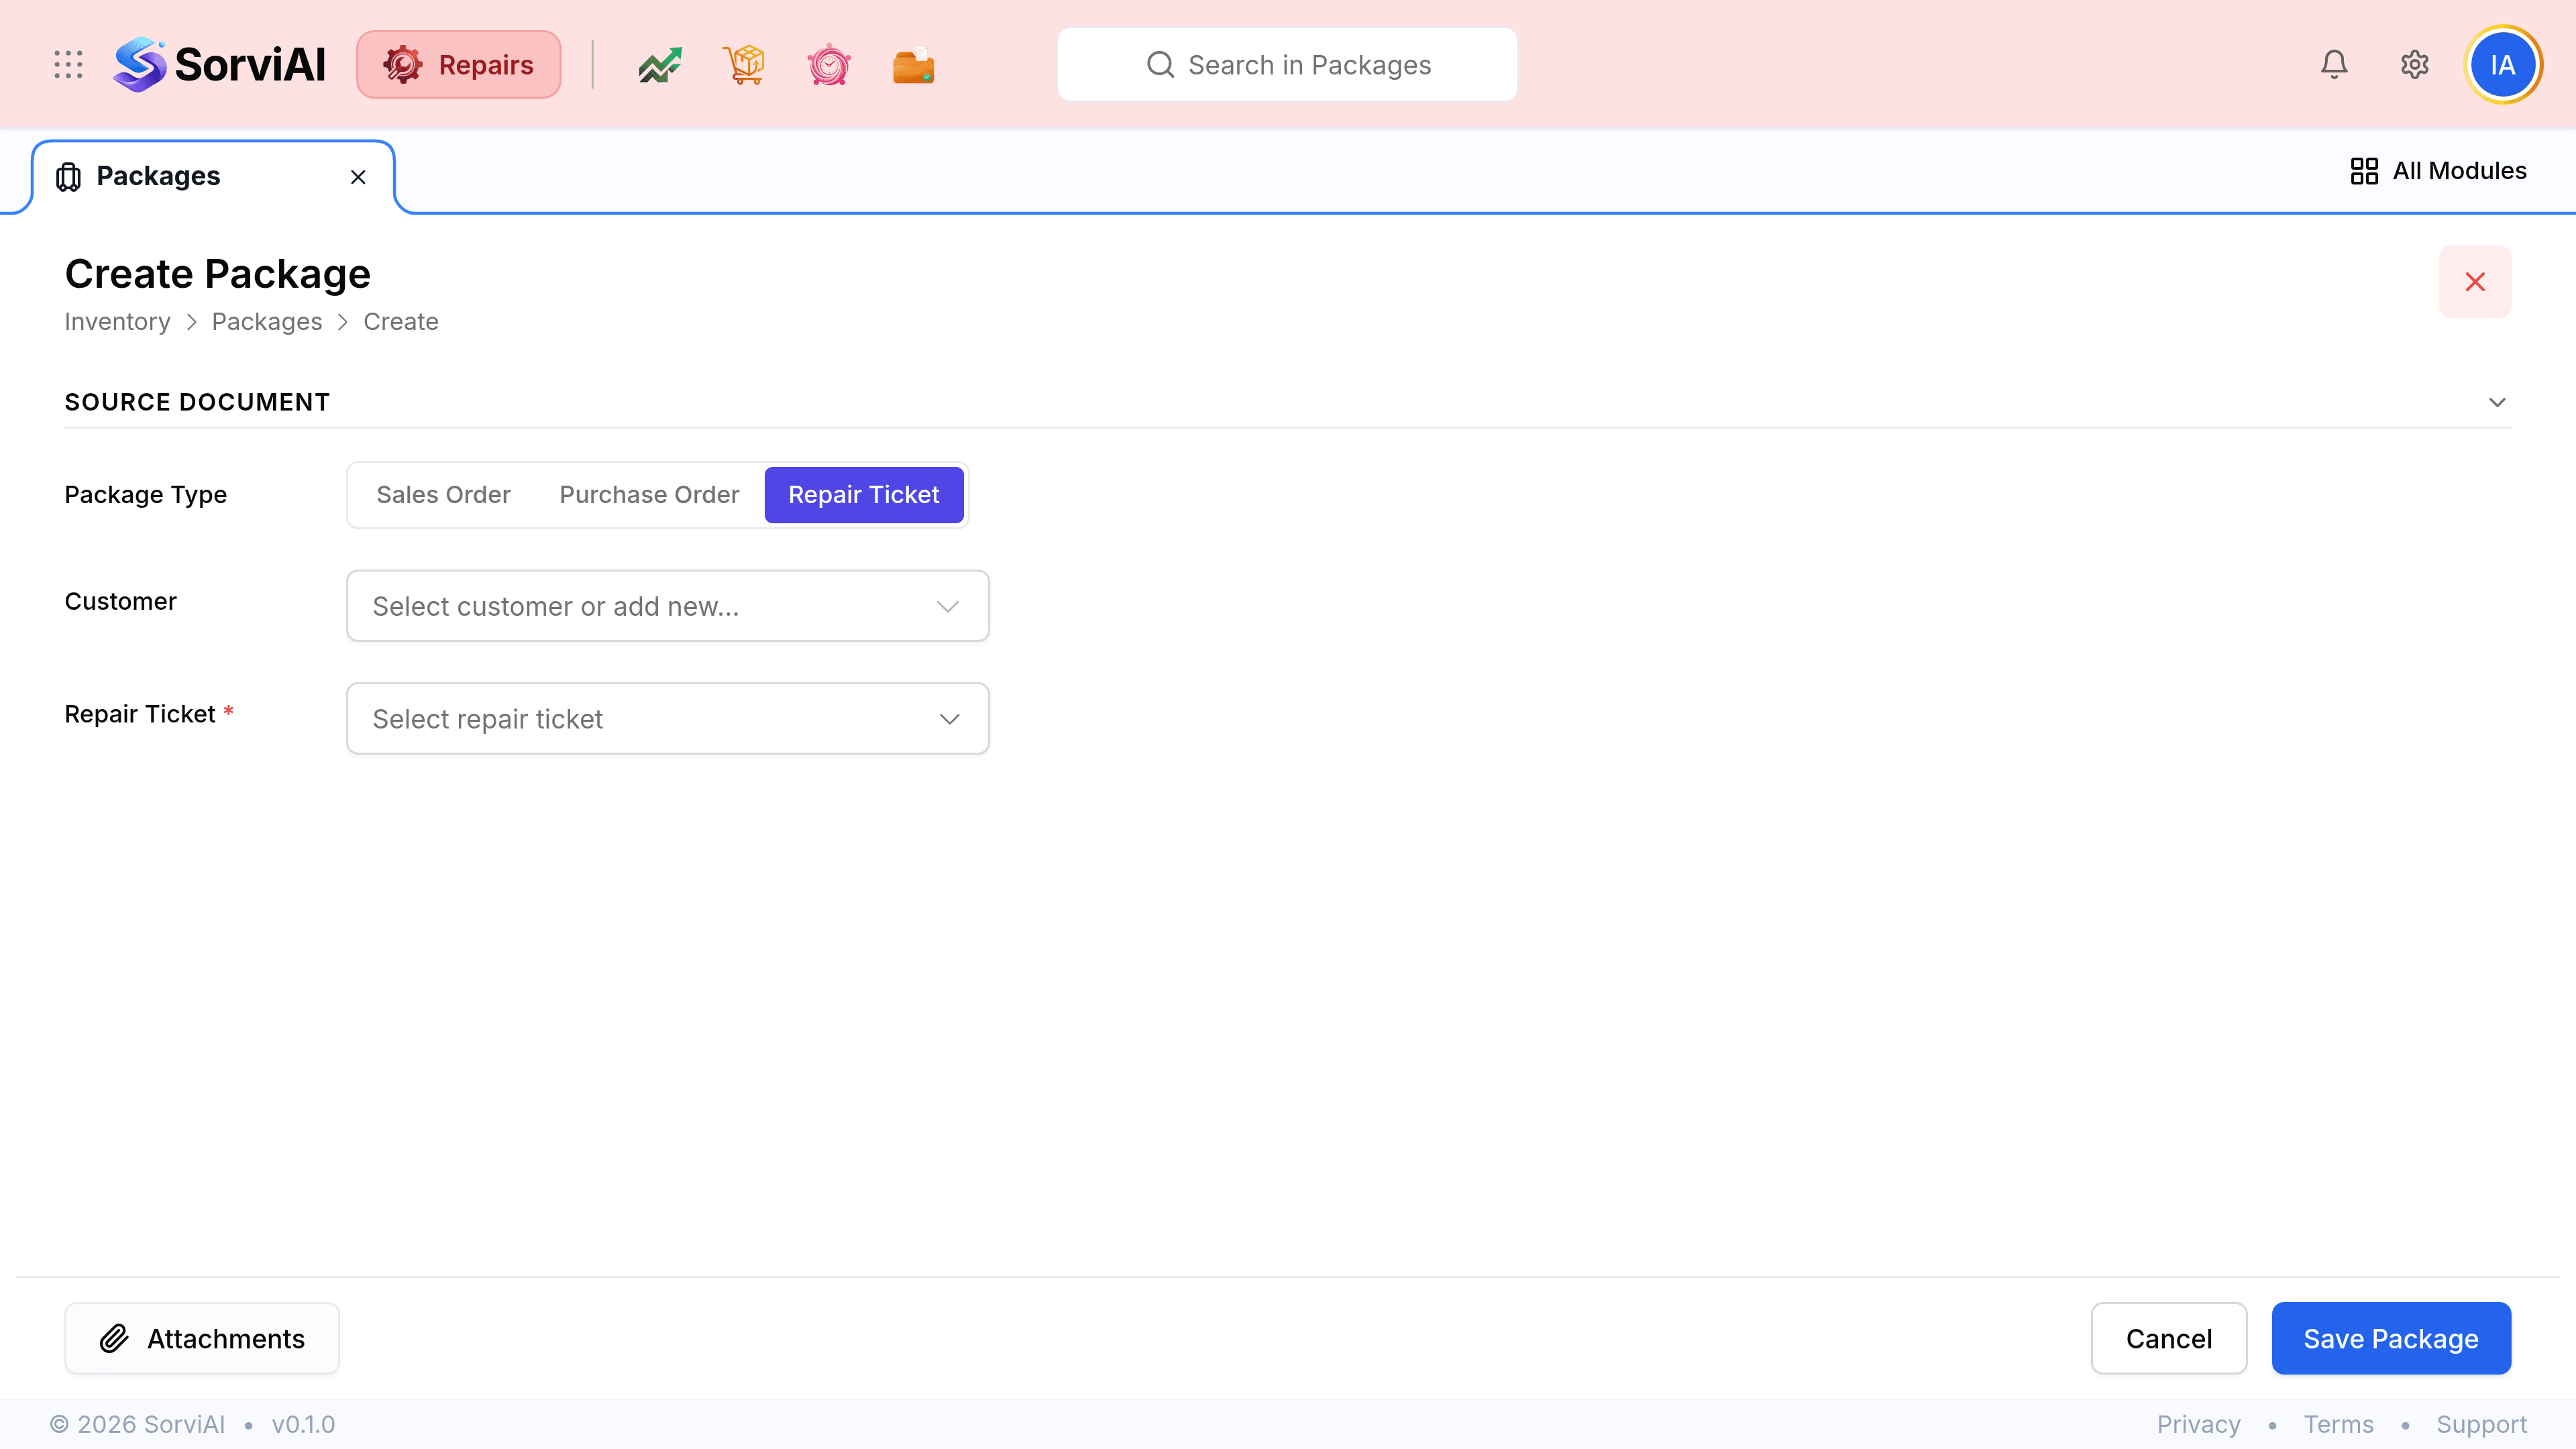
Go to Packages and select the Package button
Or open the finished ticket and choose Create, then Create Package, which fills the source in for you.
Leave the package type on Repair Ticket
The other two options exist because this screen is shared with the rest of the business. In Repairs the answer is almost always the one already selected.
Choose the repair ticket
This is the required field. Picking it is what ties the box to the job, and it is what puts the View Repair Ticket link on the finished record.
List what is going in the box
Add the equipment and anything travelling with it: the removed part the customer asked to keep, the old seal kit, the test certificate.
Enter the weight
The carrier prices from this, so a guess here becomes a wrong quote later.
Select Save Package
The package is created as not shipped, ready for a shipment to be raised against it.