
Add menu entries
Create the header and footer menus if they do not exist, add entries to either, and remove the ones you no longer want.
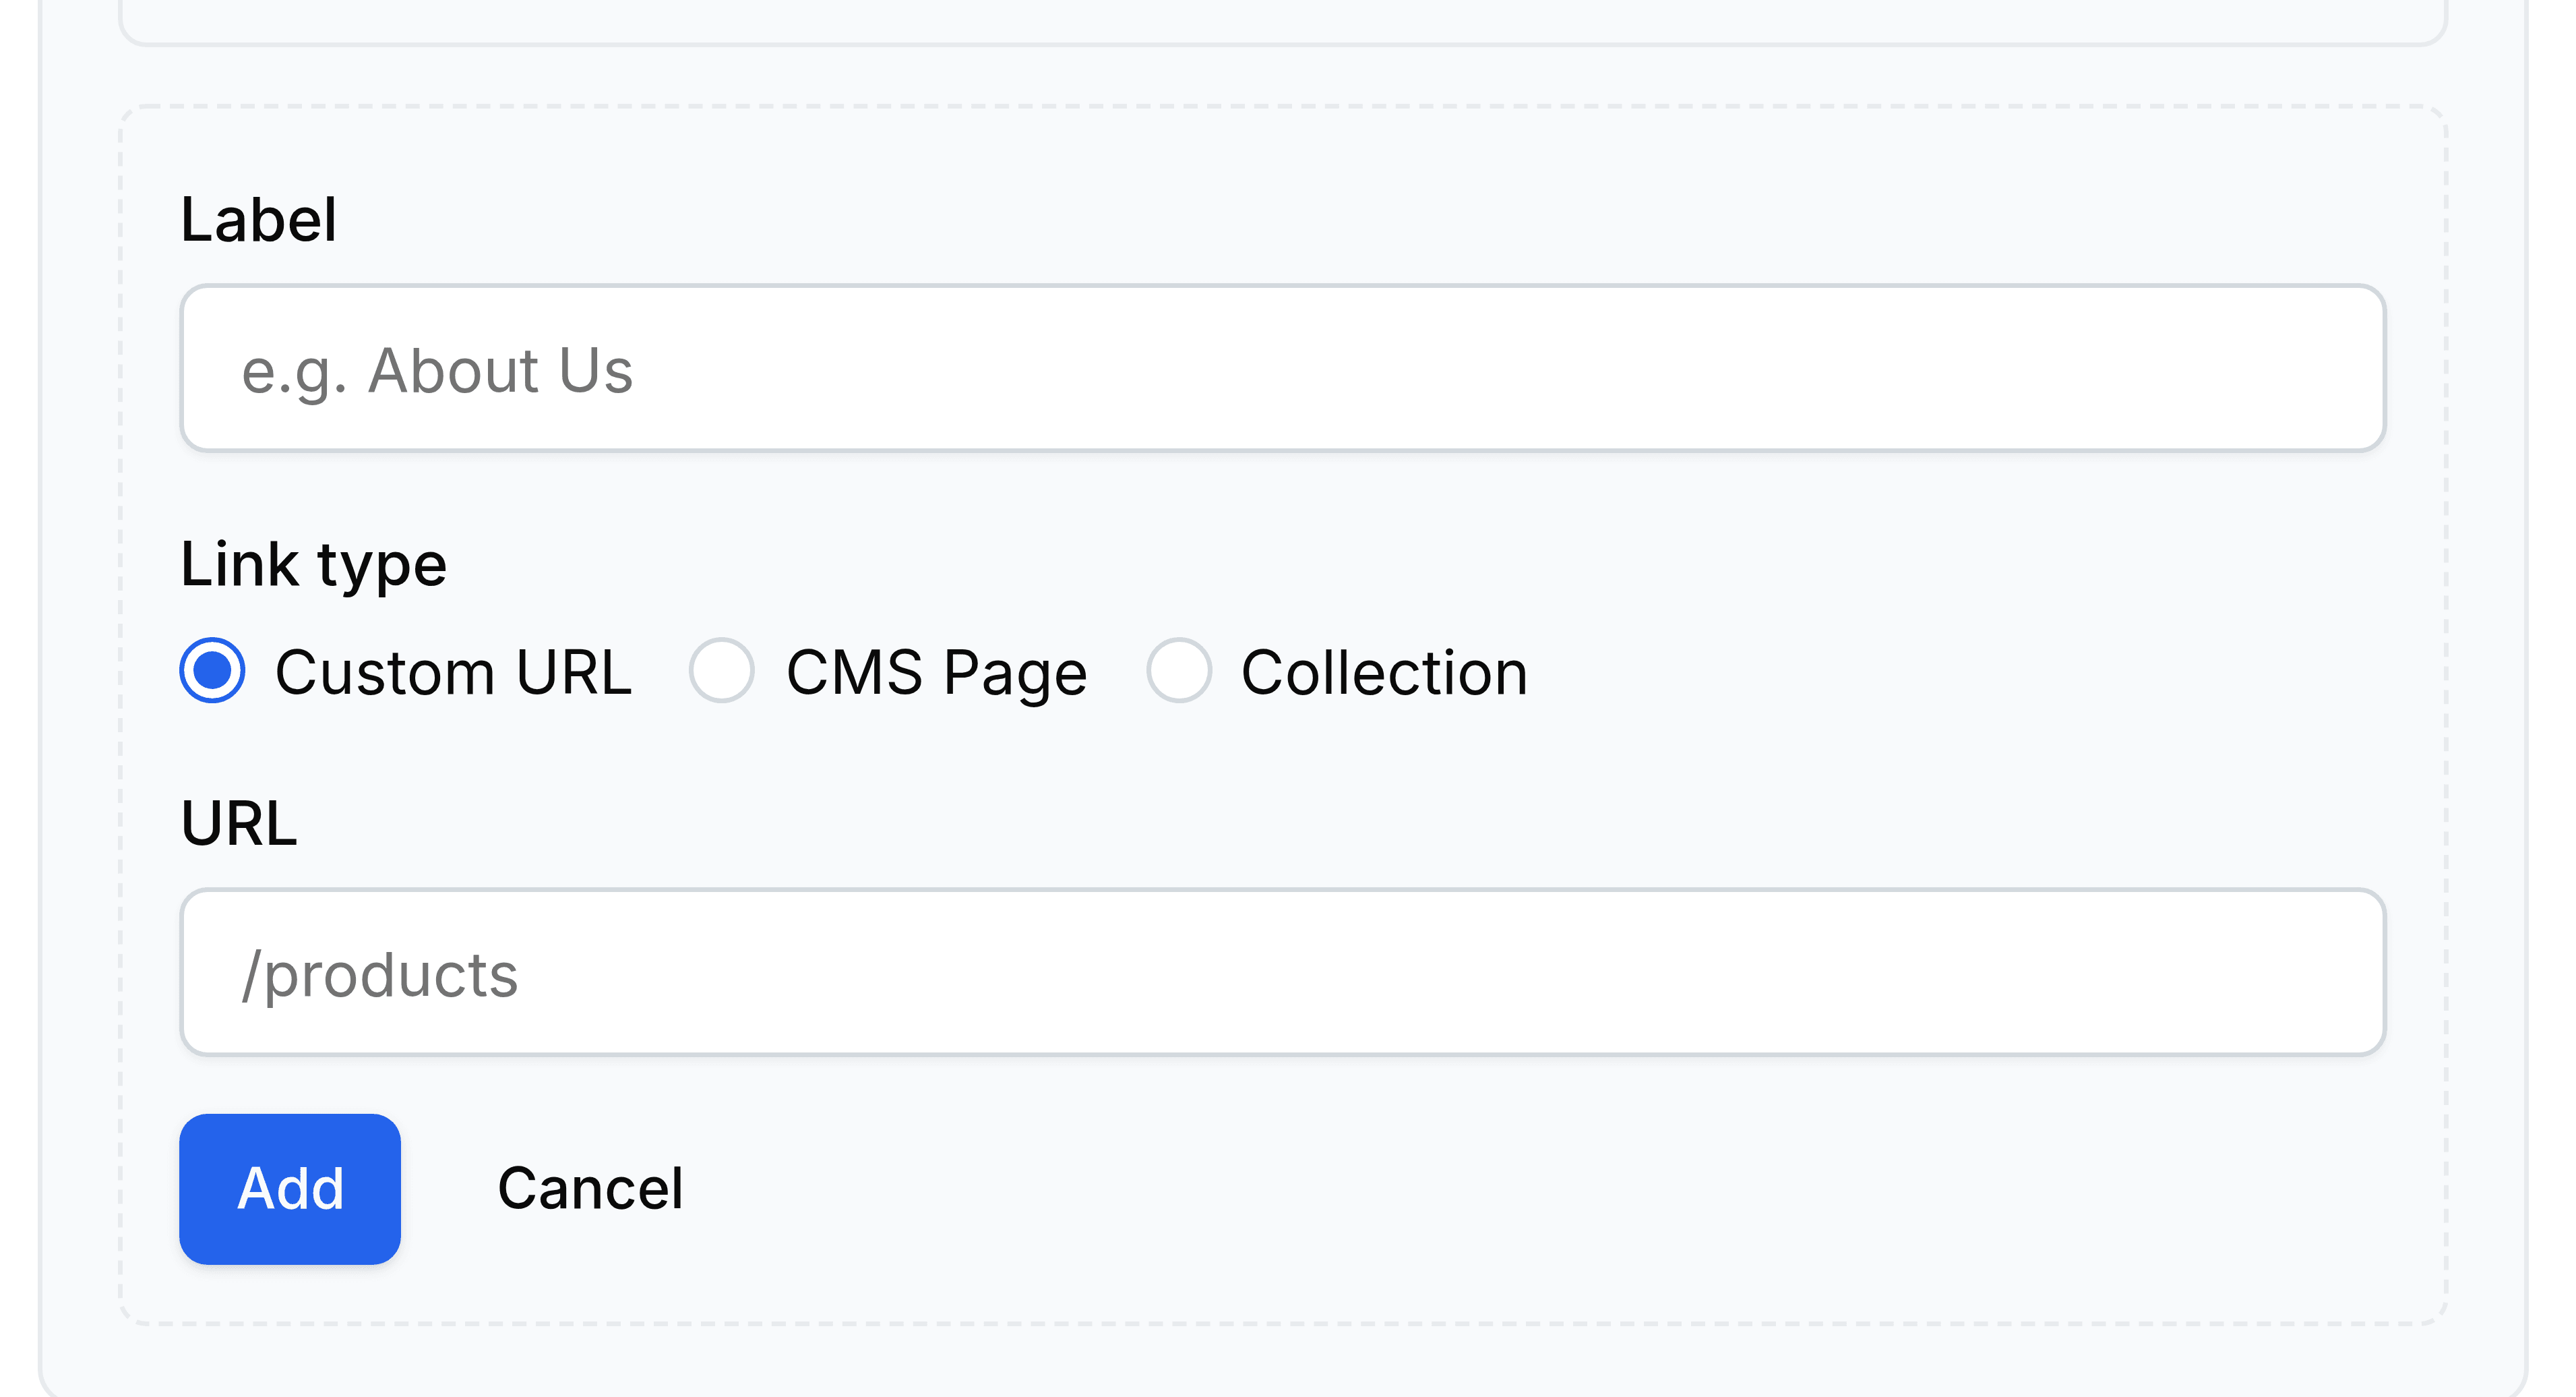
Both menus are edited on the Navigation screen, and both work the same way: a label, a type, an address, and a control that adds it.
Create the menus the first time
On a store that has never had them, Navigation says the menus need to be initialised and offers one button. Select Create header and footer menus, and both are made, empty, ready for entries.
Add an entry
Go to Navigation.
At the foot of Header Menu or Footer Menu, select Add menu item. The form opens inside that menu.
In Label, enter the words a visitor reads, such as
Delivery.Under Link type, select Custom URL, CMS Page or Collection.
In URL, enter where it goes. The example in the field shows the shape expected for the type you chose.
Select Add.
The entry joins the end of the menu. Both a label and a URL are required, and Storefront tells you if either is missing. Cancel closes the form without adding anything.
Remove an entry
Select the cross on the entry's row. It goes at once and the rest of the menu closes up behind it.